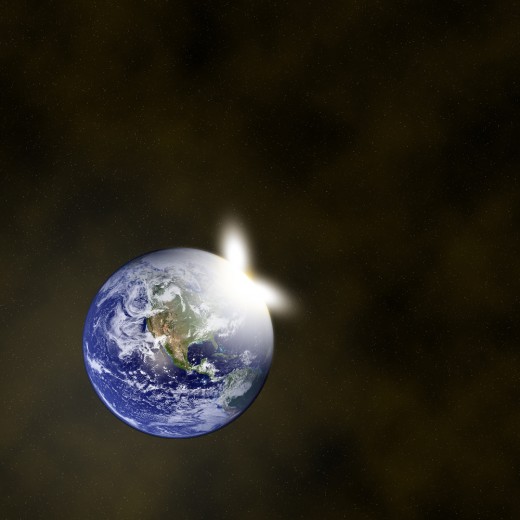
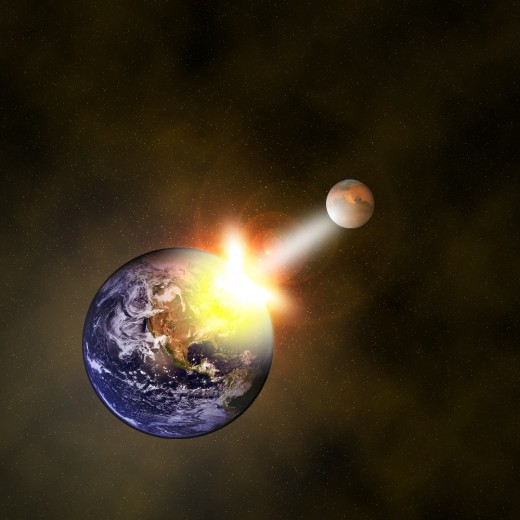
Today we are going to present how to create space explosion in adobe Photoshop. When space explosion created it looks very lightning effect, when a space going to explosion, created an unforgettable moment. I hope you never face any problem to follow this tutorial. So enjoy this our amazing creation and share your sweet comments with us.
Other more related tutorials:
- How to Create an Ice Cream in Photoshop
- Create a Beautiful Sign Board in Photoshop
- Create a Thermometer Icon in Photoshop CS5
- How to Create a Digital Camera: Photoshop Tutorial
Tutorial details:
- Program: Adobe Photoshop CS5
- Difficulty: Intermediate
- Estimated Completion Time: 45 Mins
Space Explosion Tutorial in Photoshop – Final Preview
Tools and Resources

External Resources
Photoshop Tools
- Gradient Overlay
- Elliptical Marquee Tool
- Brush Tool
- Pen Tool
Lets start to create our space explosion tutorial in Photoshop.
Step 1
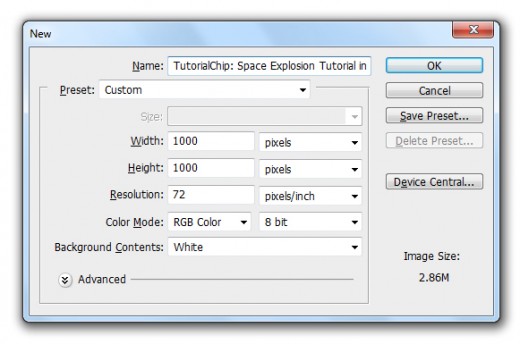
Create new document (Ctrl+N) with 1000×1000 of size.
Step 2
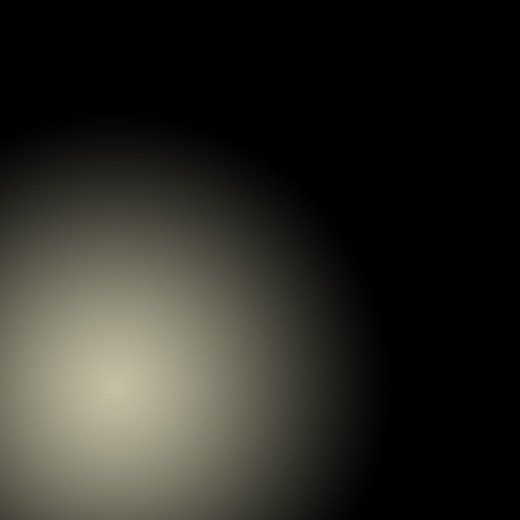
Create new layer and select Gradient Tool, applying Radial Gradient to this new layer and name it layer Gradient.
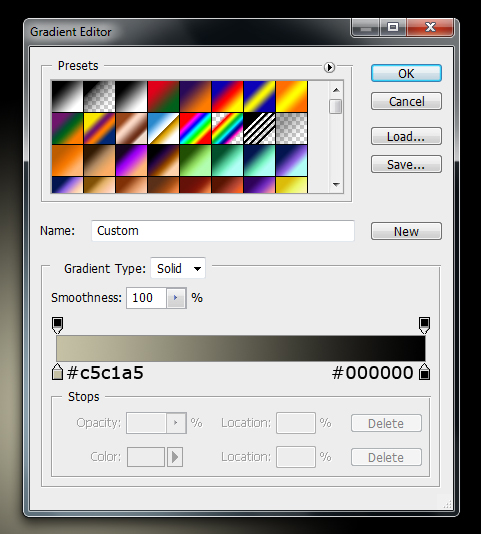
After applying radial gradient we get a new effect on this layer.
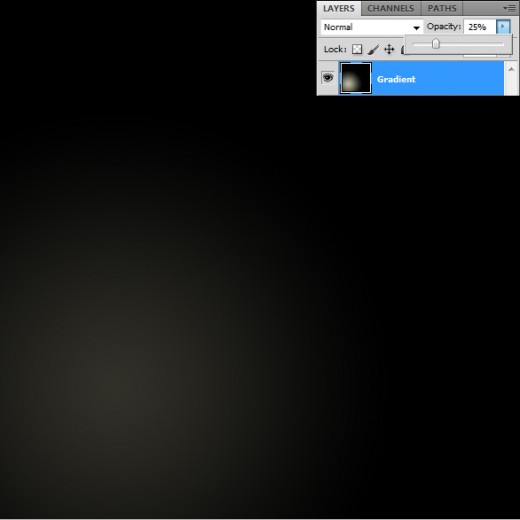
Set Opacity (25%) of this gradient layer.
Step 3
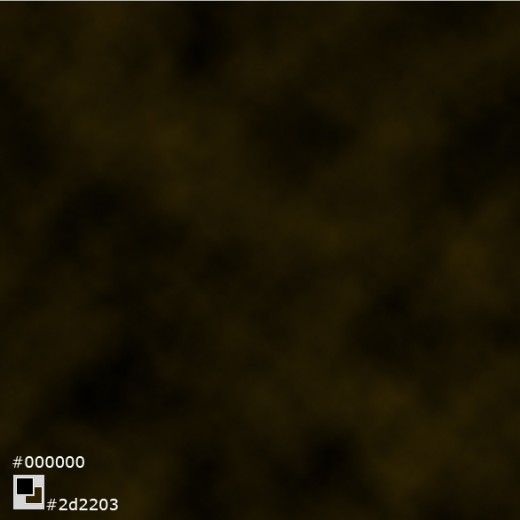
Now create new layer, named it Clouds, applying Filter of this clouds layer with Black and Brown color.
Go to Filter > Render > Clouds.
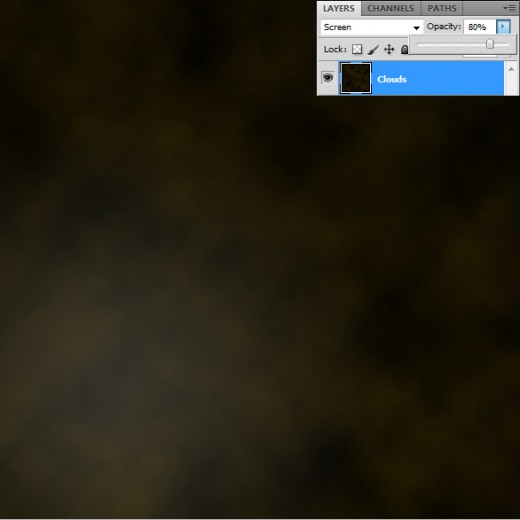
Set Blend Mode to (Screen) and Opacity (80%) of this clouds layer because we also want to show the gradient layer.
Step 4
Create new layer fill it with black color #000000, name it layer Stars.

Now I am going to applying the Filter of this stars layer to make stars.
Go to Filter > Noise > Add Noise and set Amount (10%) Distribution (Gaussian) and Click on the Monochromatic box.
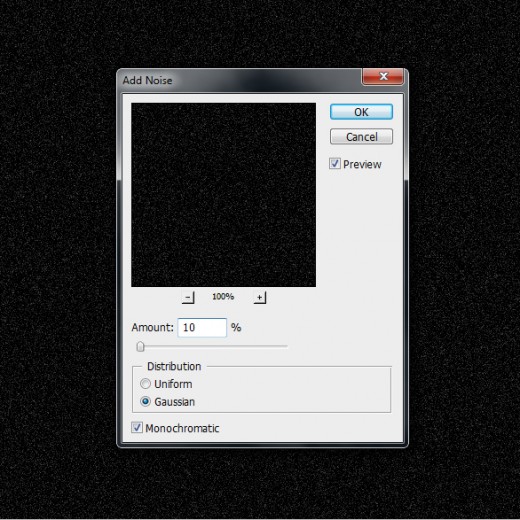
After add noise we get awesome effect on stars layer.

Now adjustment the stars layer to make effective these stars.
Go to Image > Adjustment > Levels.
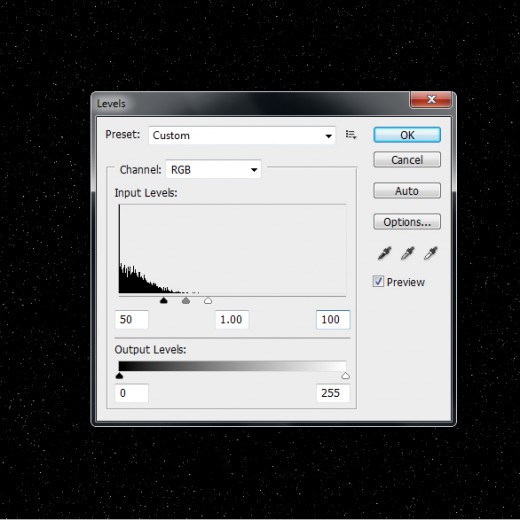
After image adjustment we get new effect on stars layer.

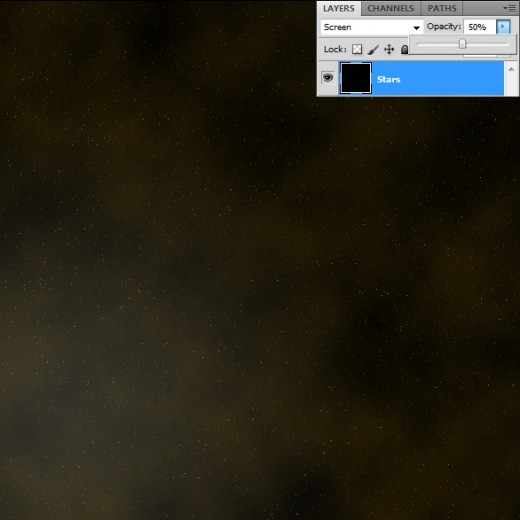
Set Blend Mode to (Screen) and Opacity (50%) of this stars layer to make more effective and depth.
Step 5
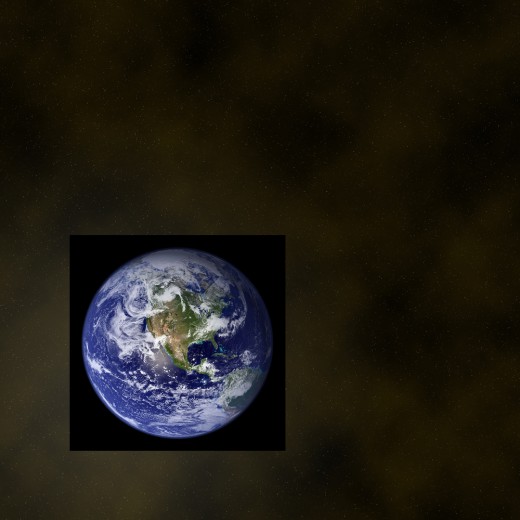
Now I am going to add the NASA Blue Marble Picture in adobe Photoshop.
Step 6
Select Elliptical Marquee Tool and make a selection of NASA blue marble image layer.
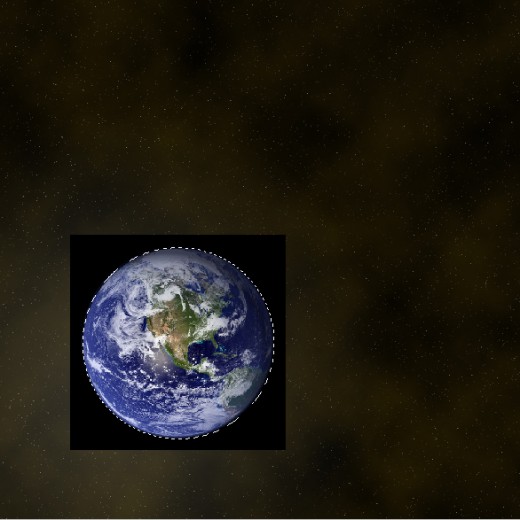
Press (Ctrl+Shift+I) to inverse the selection and hit the Delete button to delete the unneeded area.
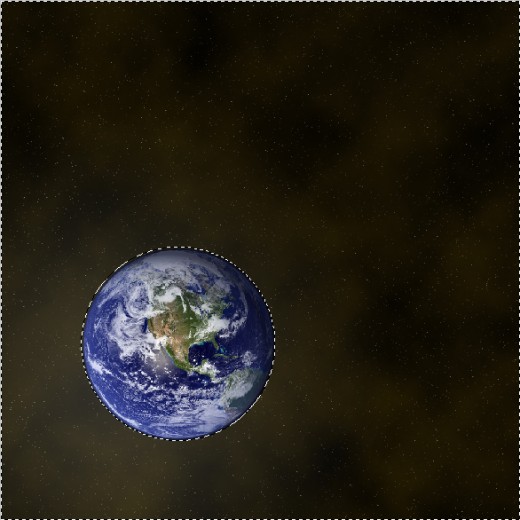
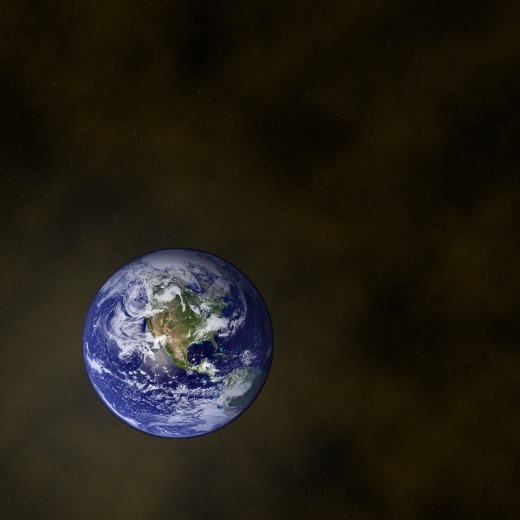
Press (Ctrl+D) to deselect the selection of NASA blue marble image layer.
Step 7
Now hold Ctrl key and click the thumbnail of NASA blue marble image layer to make selection.
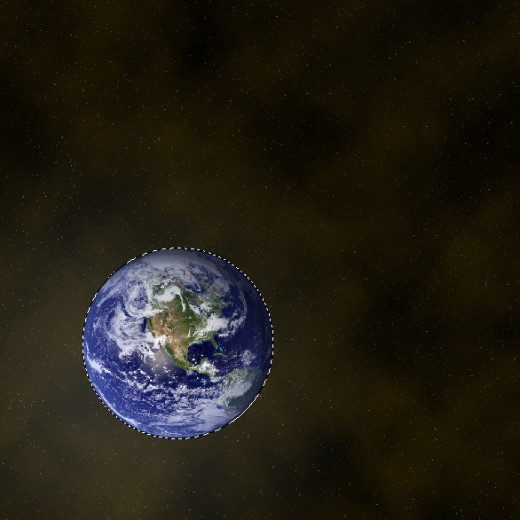
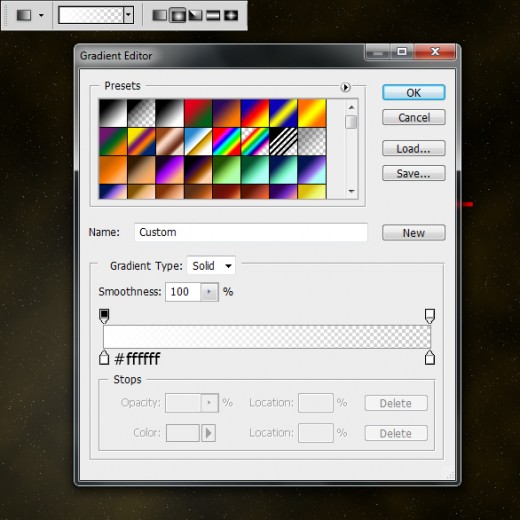
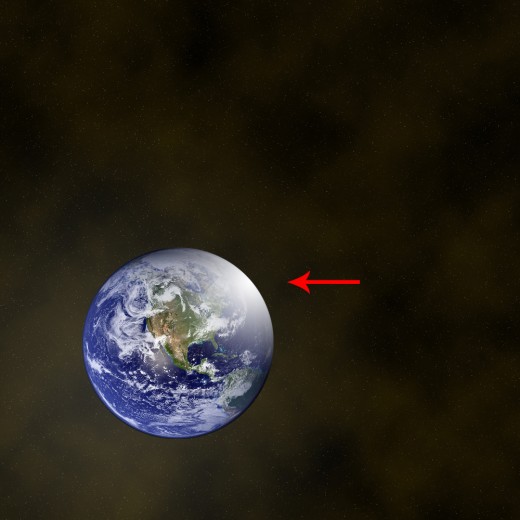
Create new layer upper side of the NASA blue marble image layer and select the Gradient Tool, fill the layer with Radial Gradient, white color and transparent and name it layer 1st Light.
After fill gradient we get this result.
Step 8
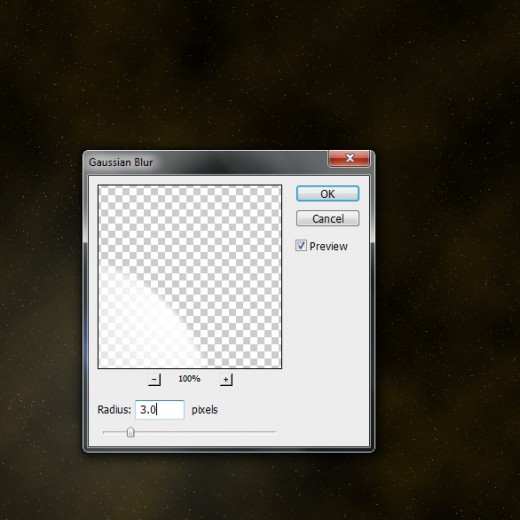
Duplicate this 1st light layer name it 2nd Light and applying Gaussian Blur on this 2nd light layer.
Go to Filter > Blur > Gaussian Blur and set Radius (3px).
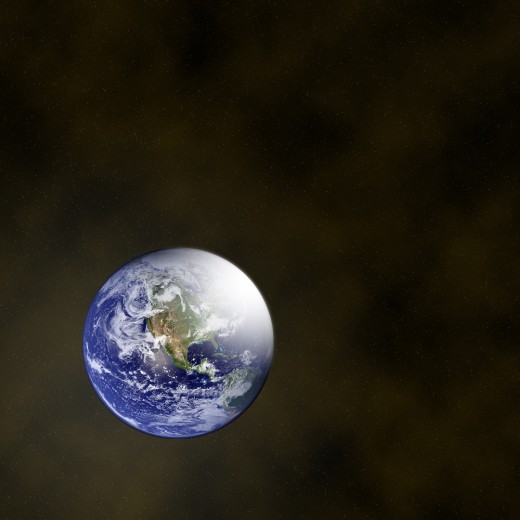
After applying Gaussian Blur we get new effect on 2nd light layer.
Step 9
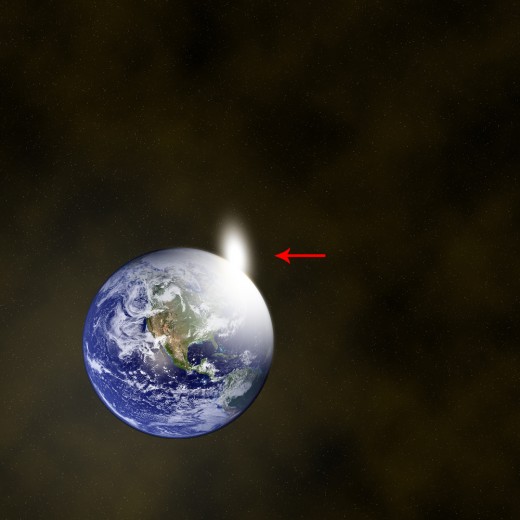
Create new layer select any Soft Brush (100px) and make a spot with white color #ffffff as like in preview and name it layer Brush Light.
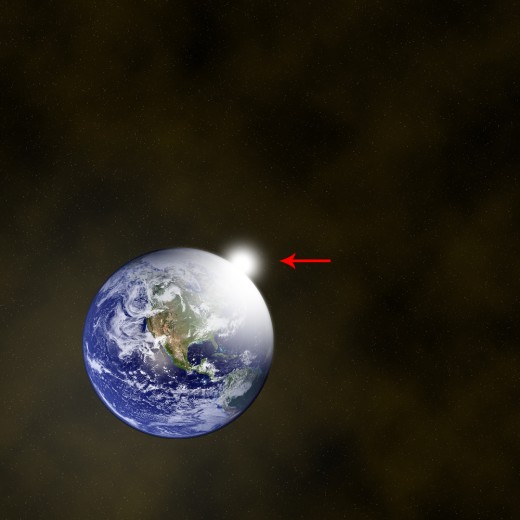
Press (Ctrl+T) to transform this brush light layer, expand it and rotate it as like in preview.
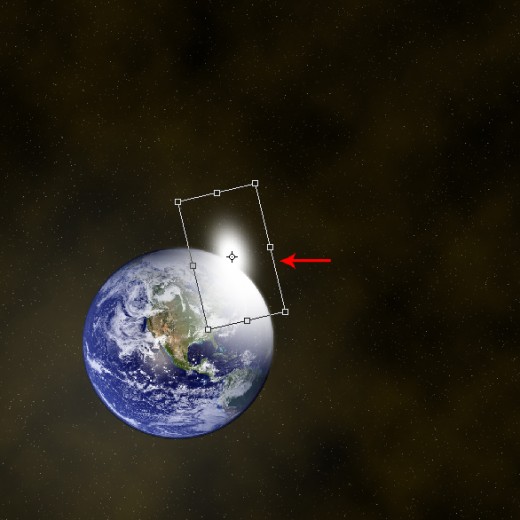
After rotating this brush light layer we get this result.
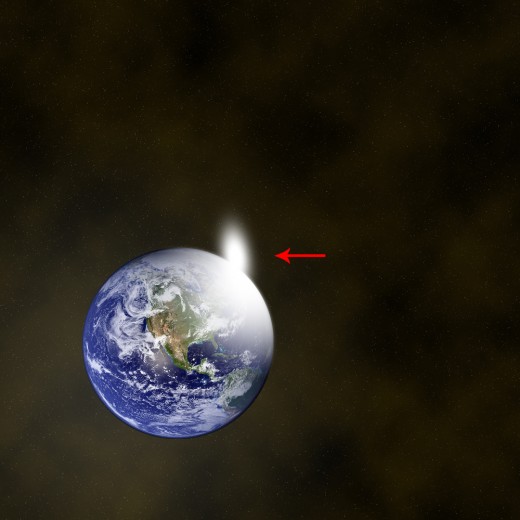
Now go to the Blending Option and applying Outer Glow of this brush light layer.
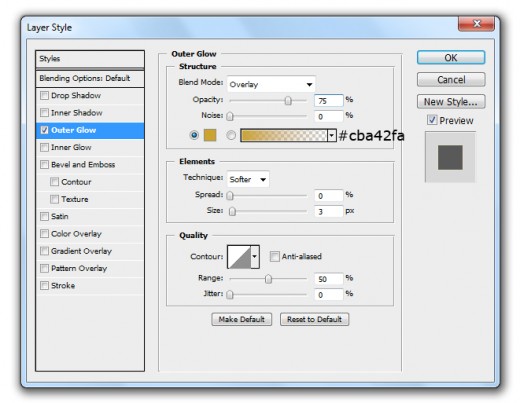
After applying outer glow we get this effective result.
Step 10
Now duplicate this brush light layer and press (Ctrl+T) to transform it and rotate it as like in preview.
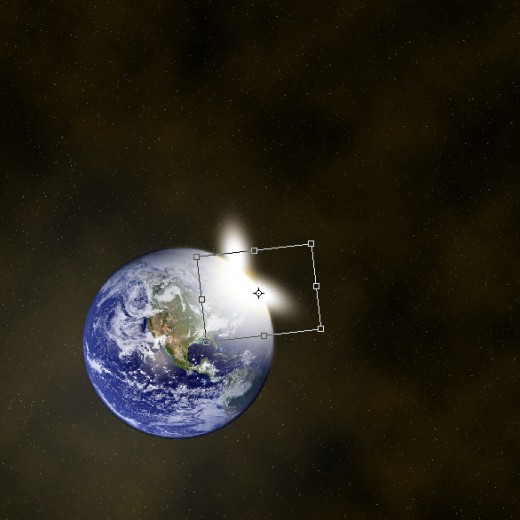
After Transform here we have new result.
