In this tutorial we are going to create a Ice cream in Photoshop. This tutorial won’t take more than 40 minutes. This technique is useful for logo and icons. I hope you will definitely like this tutorial and always remember to share your comments with us.
You may also like:
- Creating a 3D Globe in Photoshop CS3
- How to Draw a Laptop in Photoshop CS5
- Create a Beautiful LCD Television in Photoshop
- How to Create a Hard Drive: Photoshop Tutorial
Tutorial details:
- Program: Adobe Photoshop CS5
- Difficulty: Intermediate
- Estimated Completion Time: 40 Mins
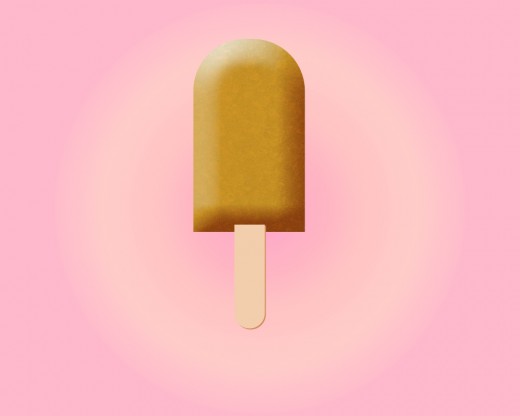
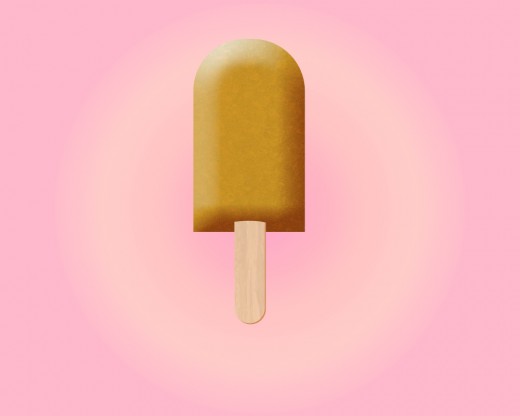
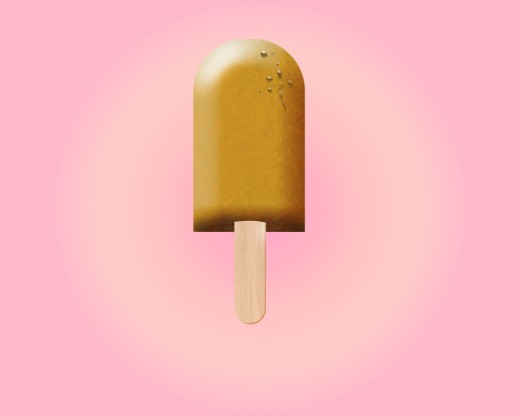
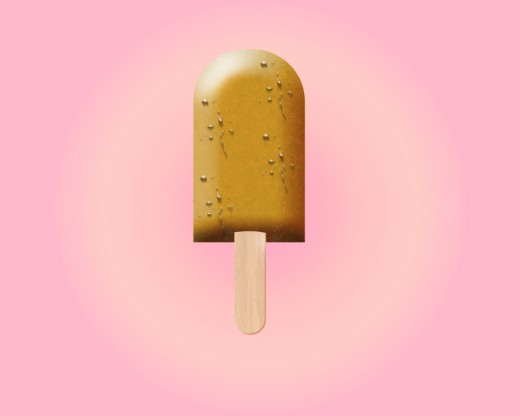
Create an Ice Cream Tutorial in Photoshop – Final Preview

Tools and Resources
Photoshop Tools
- Rounded Rectangle Tool
- Rectangle Marquee Tool
- Pen Tool
- Gradient Tool
- Brush Tool
- Dodge Tool
- Burn Tool
External Resources
Lets start to create our Ice cream tutorial in Photoshop.
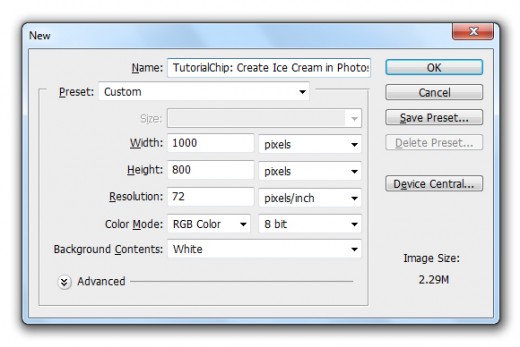
Step 1
Create a new document (Ctrl+N) 1000×800 of size select any of color.
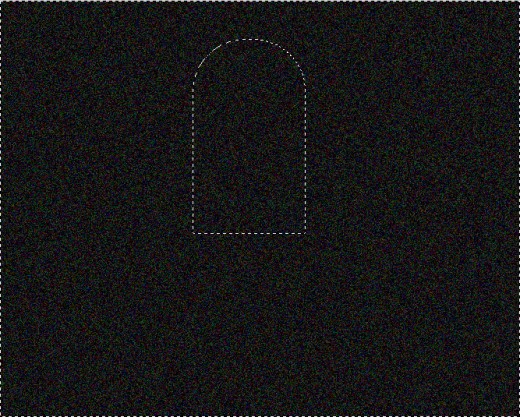
Step 2
Select Rounded Rectangle Tool from tool panel set radius (100%) and draw a rectangle with black color #000000.

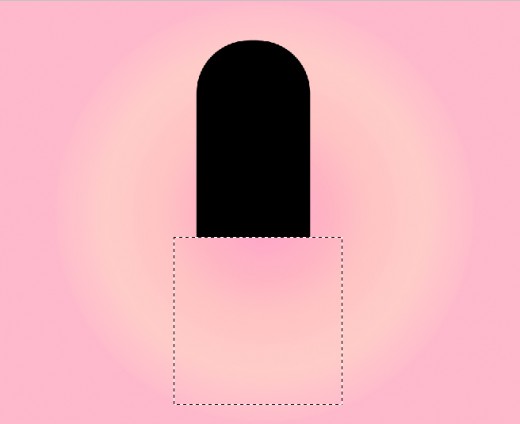
Resterize the rectangle layer and make a selection with Rectangle Marquee Tool.
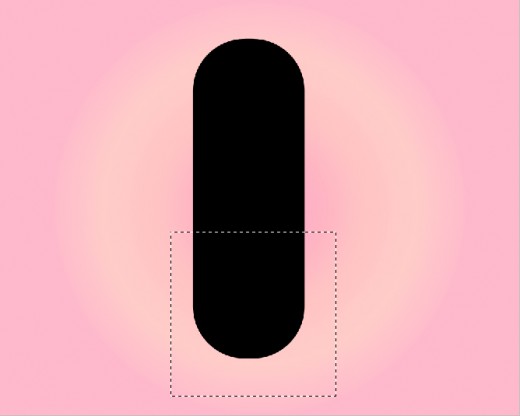
Hit delete button to delete the selection area.
Step 3
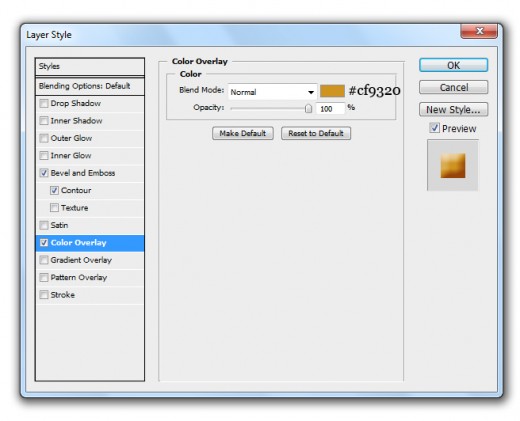
Now go to Layer > Layer Style and applying some Blending Options to this rectangle layer.
Bevel and Emboss
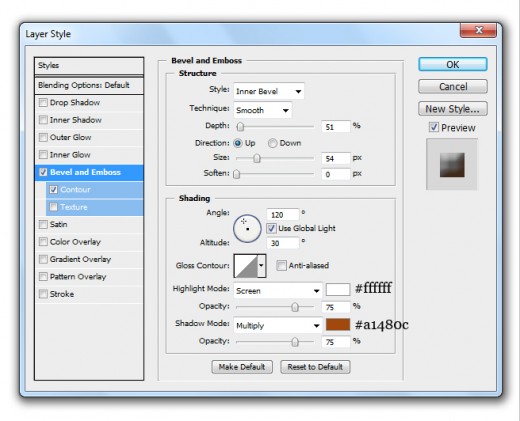
Color Overlay
Satin
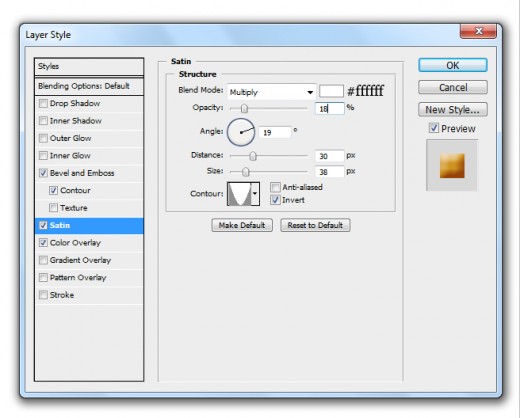
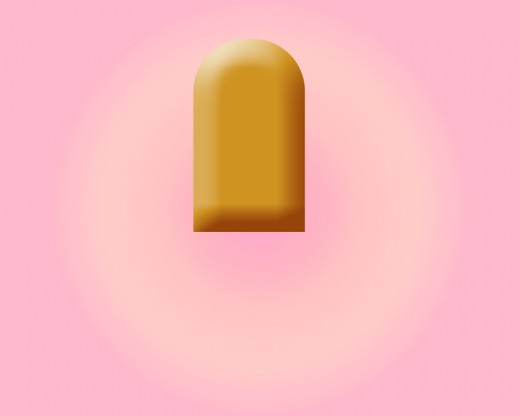
After applying these blending options we get nice effect on rectangle layer.
Step 4
Now I am going to add the Ice Texture Image to make effective our ice cream.
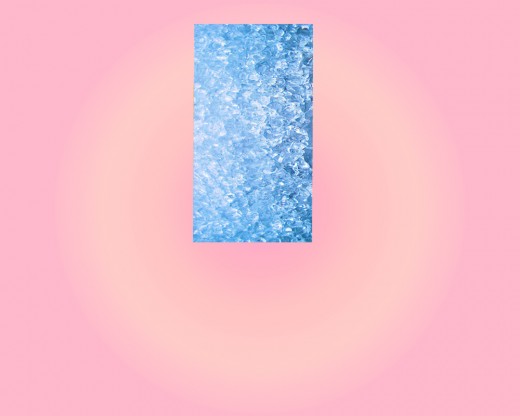
Set Blend Mode to (Liner Burn) of this ice texture image and set Opacity (10%).
Now hold the Ctrl key and click on thumbnail of the rectangle layer then pres (Shift+Ctrl+I) and hit delete button to delete the unneeded area of ice texture image layer.
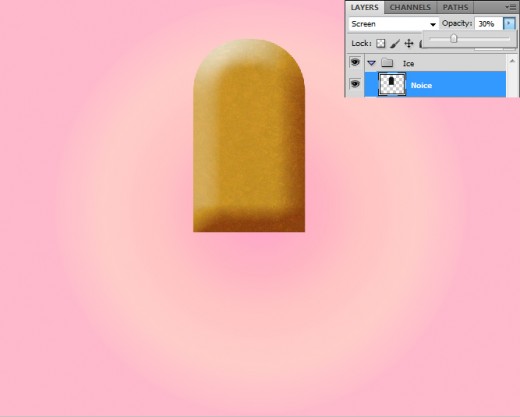
Step 5
Select texture and rectangle layers and merge them (Ctrl+E), now create new layer and apply black color #000000 and go to Filter > Noise > Add Noise and set Amount (33.3%).

After that hold Ctrl key and click on thumbnail of the rectangle layer, a selection created, then press (Shift+Ctrl+I) to inverse the selection.
Now hit delete button to delete the unneeded area as like in preview.

Now set the Blend Mode (Screen) and Opacity (30%) of this noise layer. Now merge the all layers (Ctrl+E) and name it layer Ice Cream.
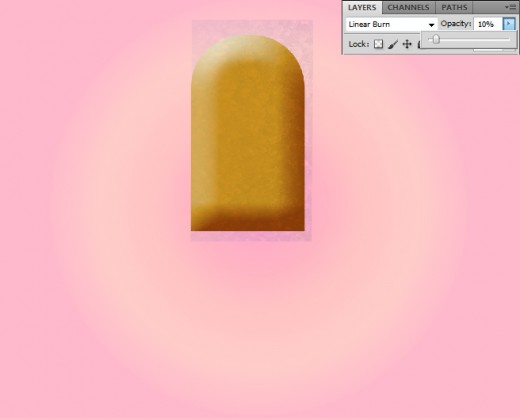
Step 6
Select Rounded Rectangle Tool again set radius (30%) and draw a rectangle with this color #f3ceac.
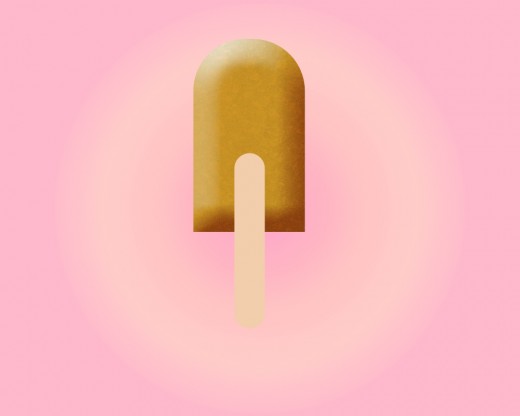
Resterize this rectangle layer and cut upper area with Rectangle Marquee Tool as like in preview name it layer Stick.
Now duplicate this stick layer and place it backside, now move the duplicate stick layer little bit right side and applying this color #d38b5d.
Step 7
Now add the Wooden Texture Image for make the this complete stick of ice cream.
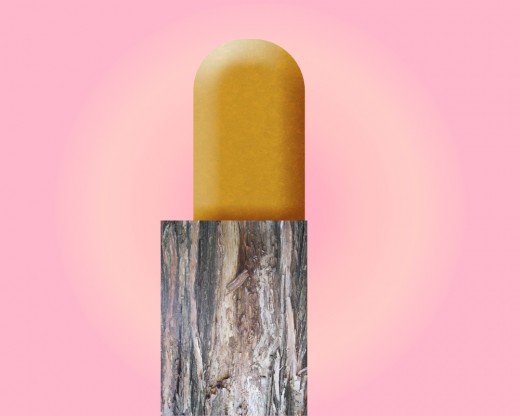
Hold Ctrl key and click on thumbnail of the stick layer then press (Shift+Ctrl+I) to inverse the selection and hit delete button to delete unneeded area.
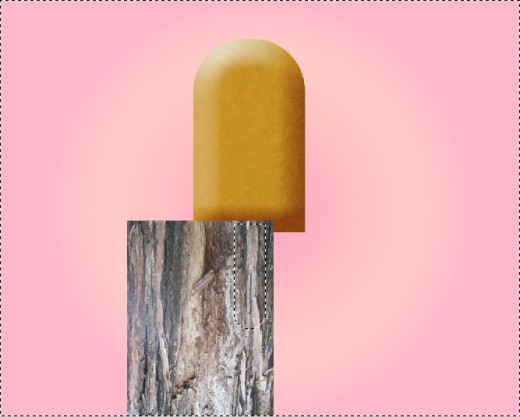
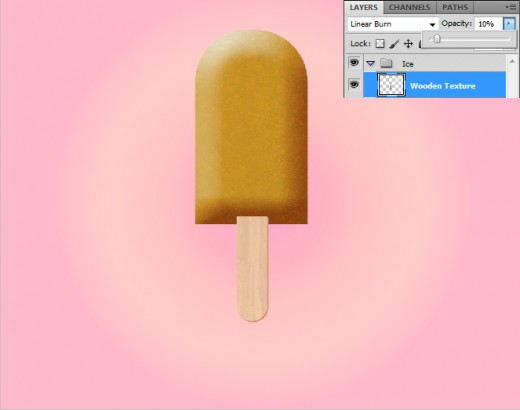
Set Blend Mode (Liner Burn) and Opacity (10%) of this texture layer.
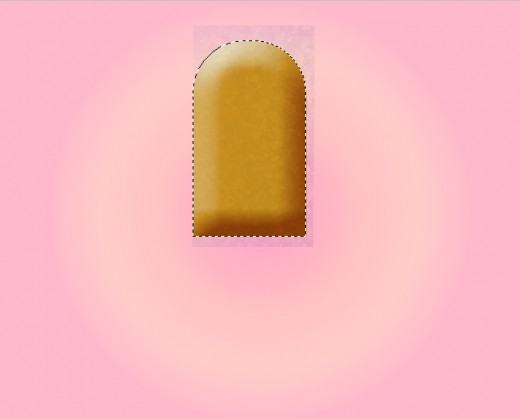
Step 8
Select both stick layers and wood texture layer merge them (Ctrl+E) now select Pen Tool and create a path.
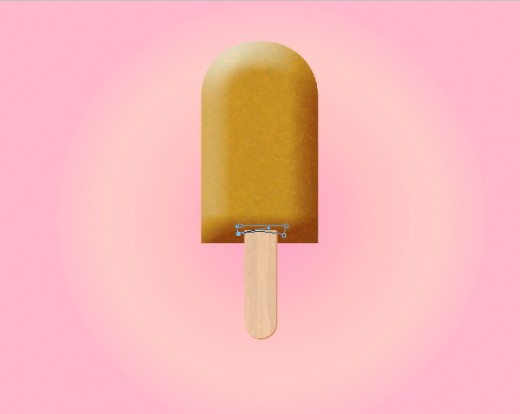
Now click on path layer and select (Make Selection).
Hit delete key to delete the stick selection.
Step 9
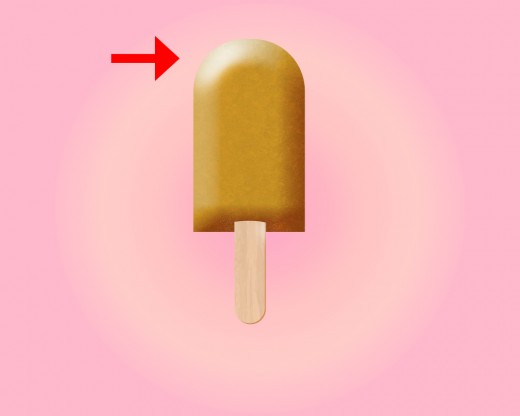
Select the Dodge Tool (O) and lighten the upper area with white color of ice cream as like in preview.
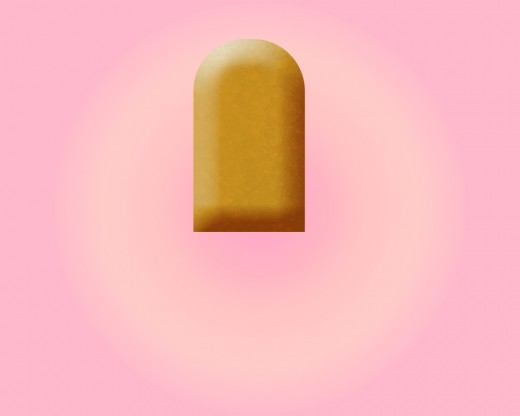
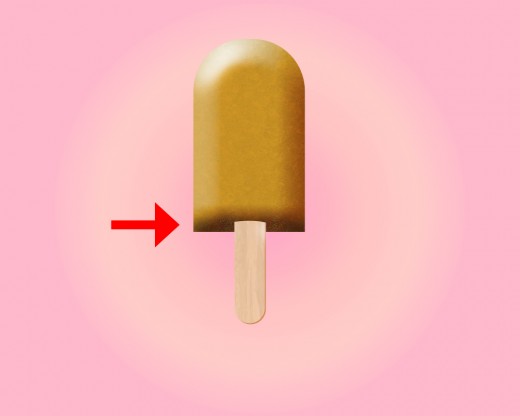
Step 10
Select the Burn Tool and darken with the black color down area of ice cream to make a shadow like in picture below.
Step 11
Now create new layer select the Brush Tool and make some spots with any of color to make the melting effect on ice cream.
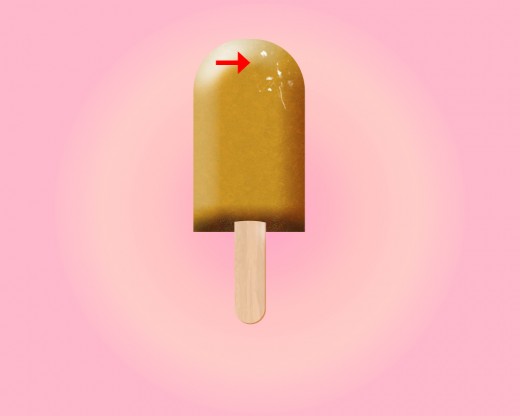
Set Blend Mode Fill (0%) of this brush layer.
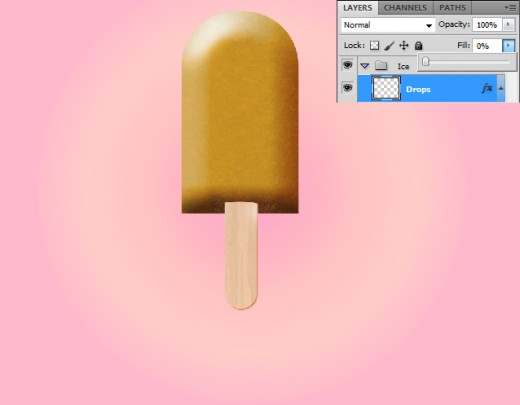
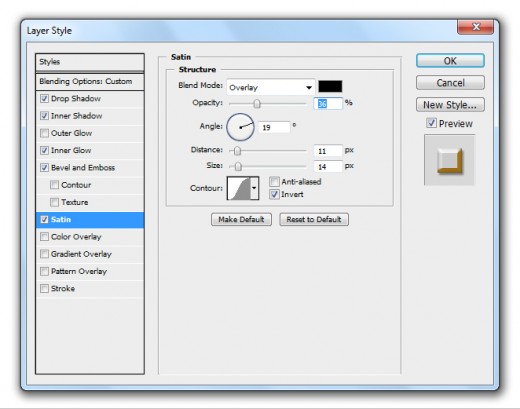
Now go to Layer > Layer Style and applying some Blending Options of this brush spot layer.
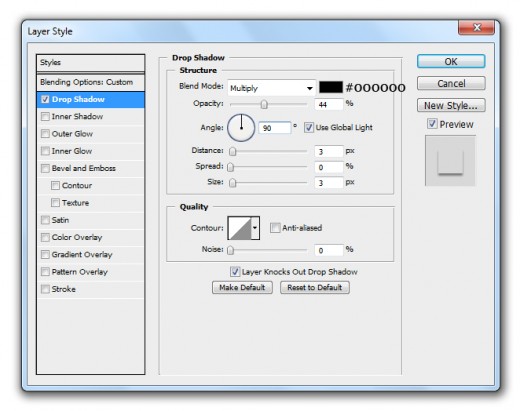
Drop Shadow
Inner Shadow
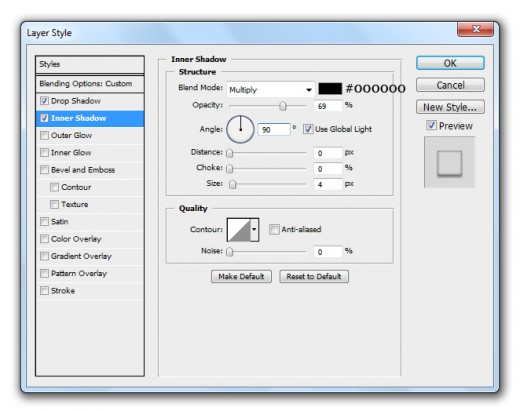
Inner Glow
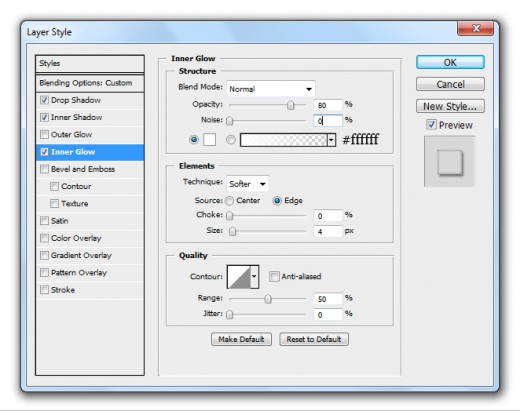
Bevel and Emboss

Satin
After applying blending options we get new effect on this brush layer.
Duplicate this shape layer and place it other sides as like in preview.
Step 12
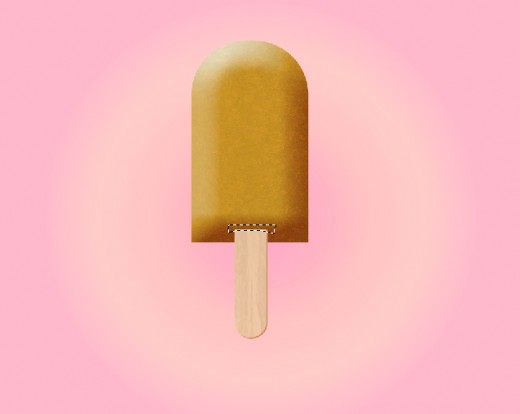
Now select the ice cream layer select the Pen Tool and create a path on ice cream layer.
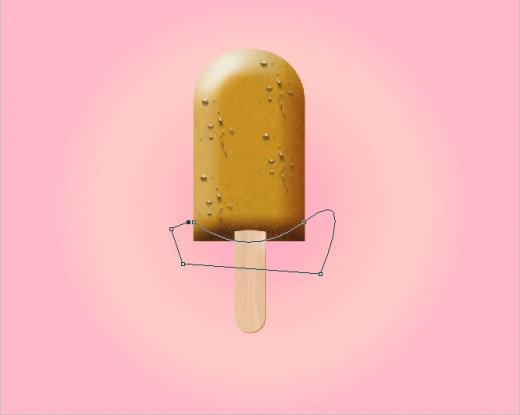
Right click on path layer and select (Make Selection) option.
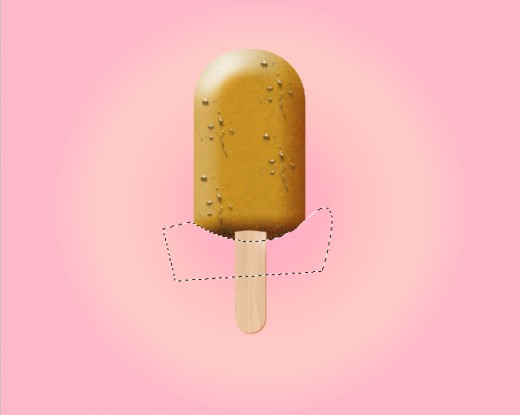
After make selection hit the delete button to delete the selected area as like in preview.
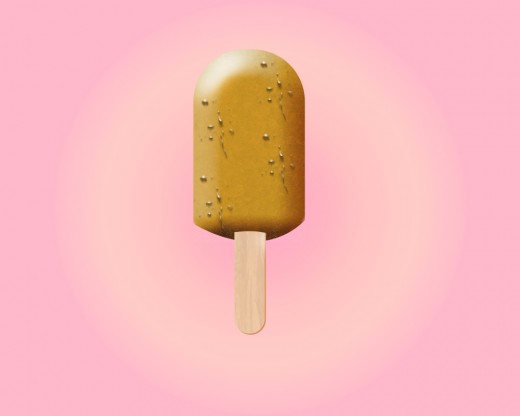
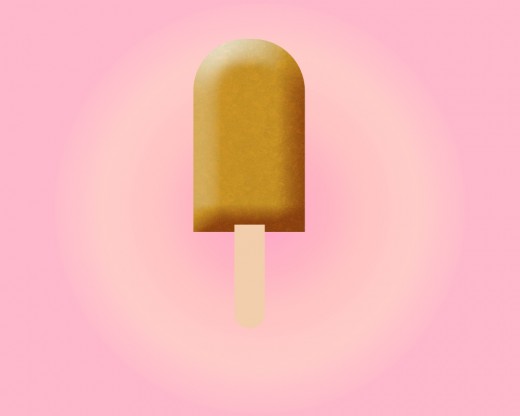
You can make more ice creams with different colors. Now select all layer and make a group (Ctrl+G). Duplicate this group two time and change the ice cream colors as like in final preview below.
Final Preview
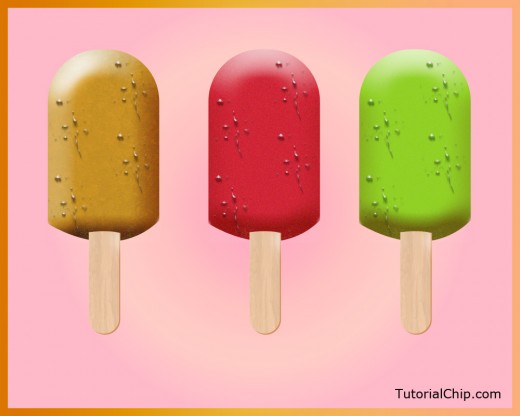
I hope you will like this ice cream tutorial. Always remember to share your comments with us. Follow TutorialChip on Twitter or Subscribe to TutorialChip to Get the Latest Updates on Giveaways, Tutorials and More for Free.