Step 7
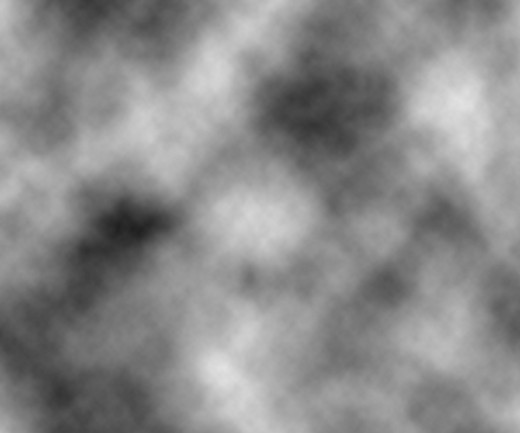
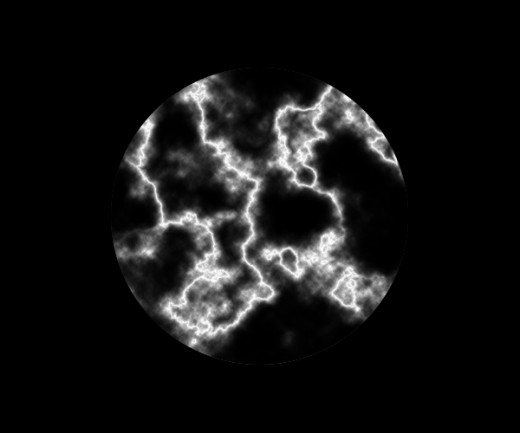
Create new layer named it Rays and go to Filter > Render > Clouds and see the result.
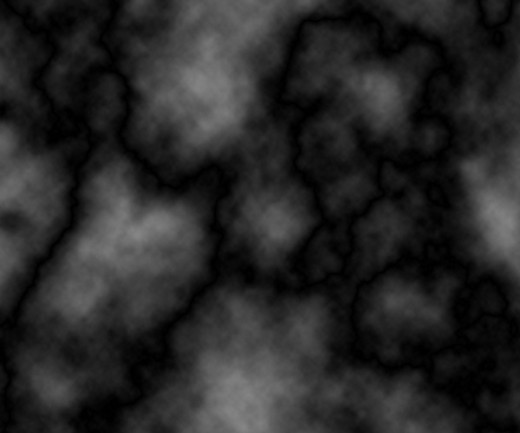
Now go to Filter > Render > Difference Clouds and we get new effect.
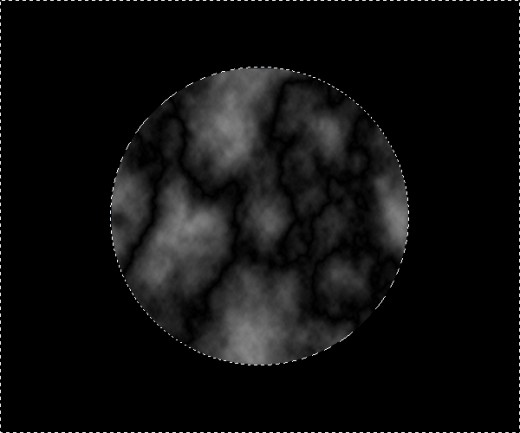
Now hold Ctrl key and click on thumbnail of the circle layer, select rays layer press (Shift+Ctrl+I), now press delete button to delete unneeded area.
Step 8
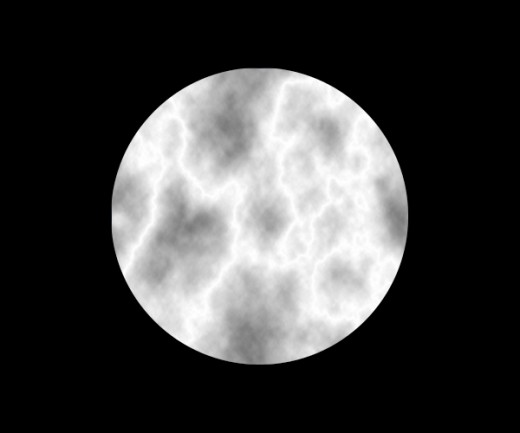
To make more lighten our rays go to Image > Adjustment > Invert.
Step 9
To make our rays more effective then go to Image > Adjustment > Levels and set levels.
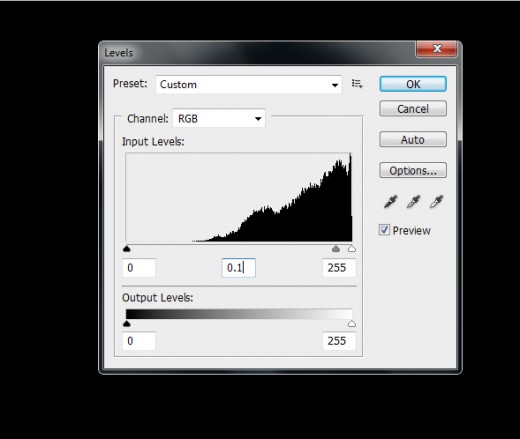
After set levels we get cool effect on rays layer.
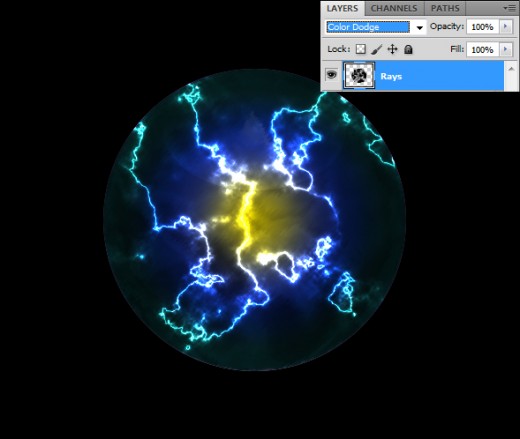
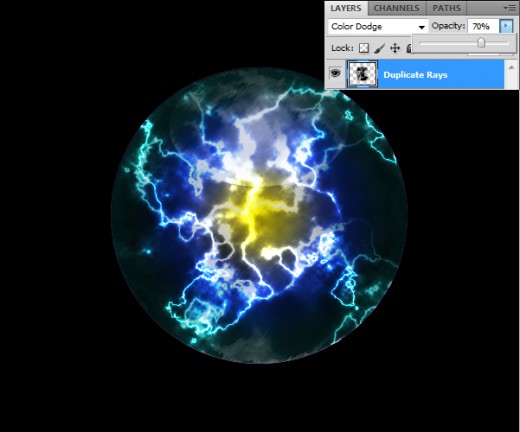
Now making our rays colorful set the Blend Mode to (Color Dodge) of this rays layer.
Duplicate this rays layer transform duplicate layer (Ctrl+T) and rotate it as like in preview.

After rotating we can see that the rays look more attractive.
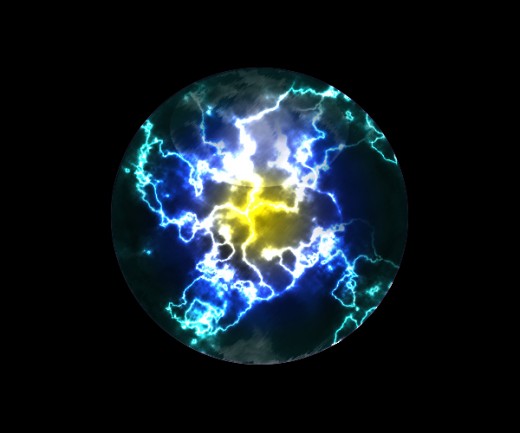
Down the Opacity (70%) of duplicate rays layer to make a depth in circle.
Step 10
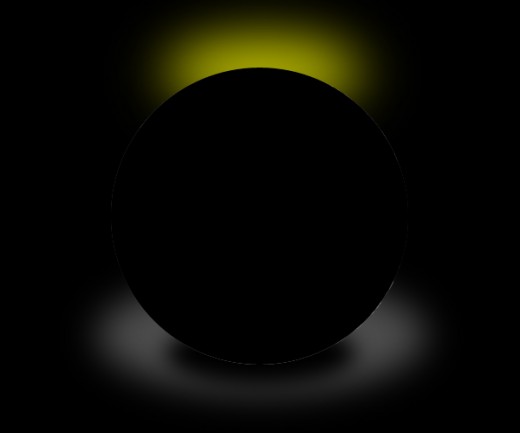
Select the top reflection and bottom reflection both layers and move to top of all the layers then create a circle of black color #000000 with Ellipse Tool down of the both reflection layers.
Now down Fill (0%) from layer panel of this circle layer.
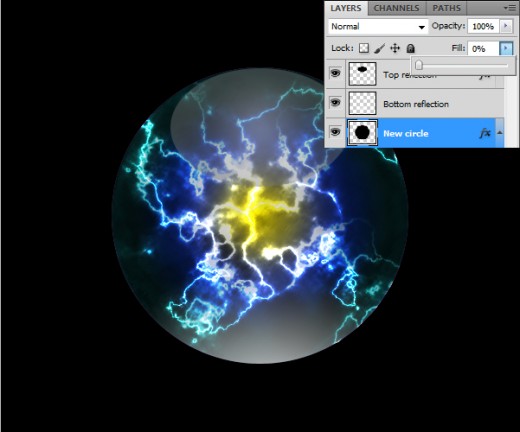
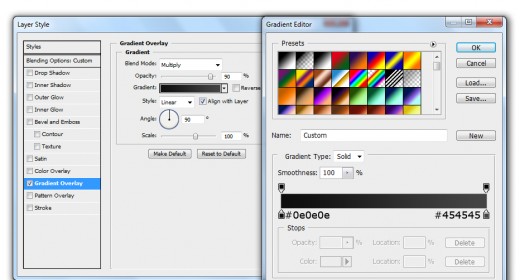
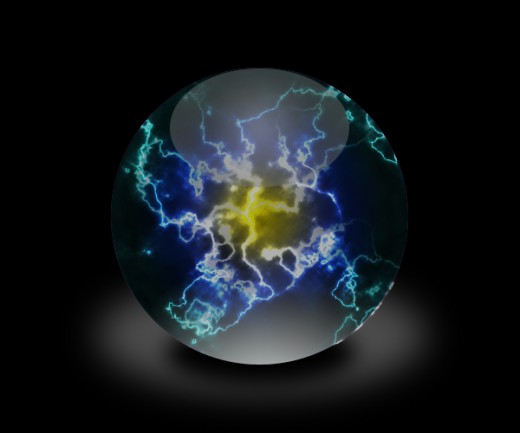
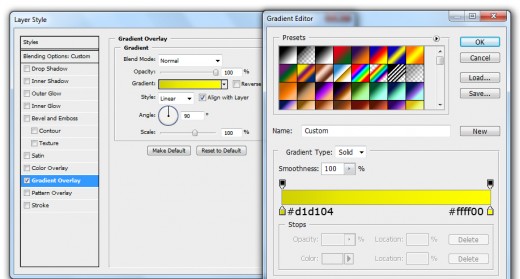
Go to Blending Option and applying Gradient Overlay to this circle layer.
Minimize the Opacity (40%) of this circle layer then we get cool this result.

Step 11
Select Ellipse Tool and create a shape with white color #ffffff bottom of all the layer.
Go to Filter > Blur > Gaussian Blur and set radius (20%).
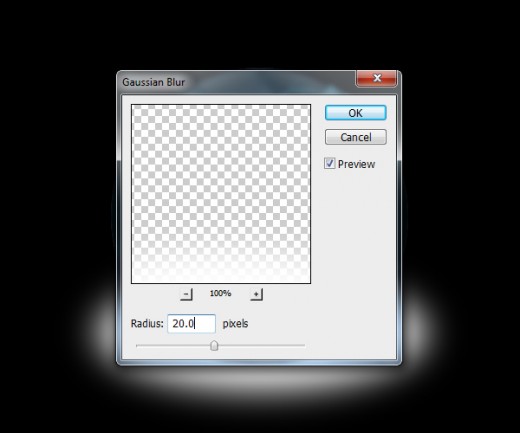
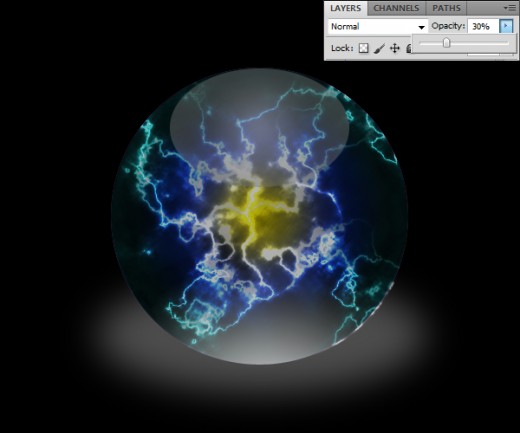
After applying Gaussian blur down the Opacity (30%) of this shape layer.
Step 12
Create one more shape of black color #000000 with Ellipse Tool.
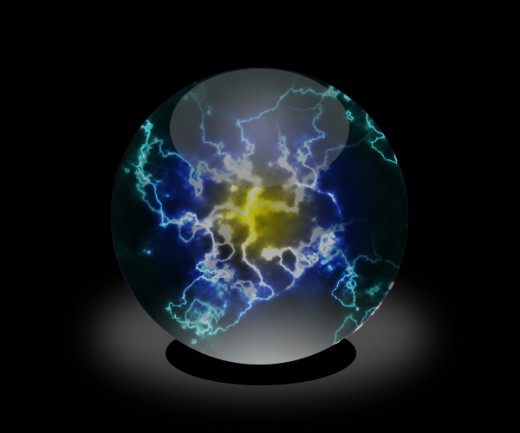
Go to Filter > Blur > Gaussian Blur and set radius (12%) of this shape layer.
When we set Gaussian blur filter, we get a new effect on this shape layer.
Step 13
Select Ellipse Tool again and create a shape with white color #ffffff top of the all layers.
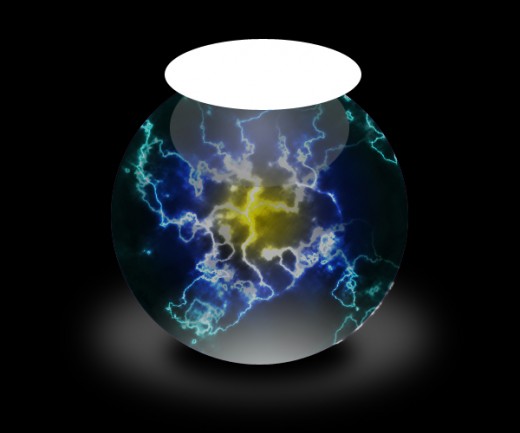
Applying Filter to this shape layer. Go to Filter > Blur > Gaussian Blur and set radius (30%).
After applying Gaussian blur we get nice preview.
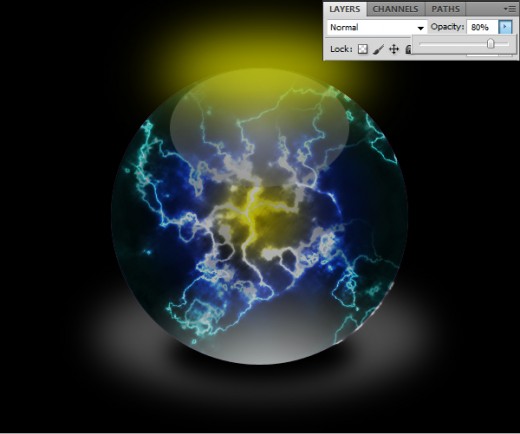
Now go to the Blending Option and applying Gradient Overlay on this layer.
After applying gradient overlay down the Opacity (80%) of this layer.
Step 14
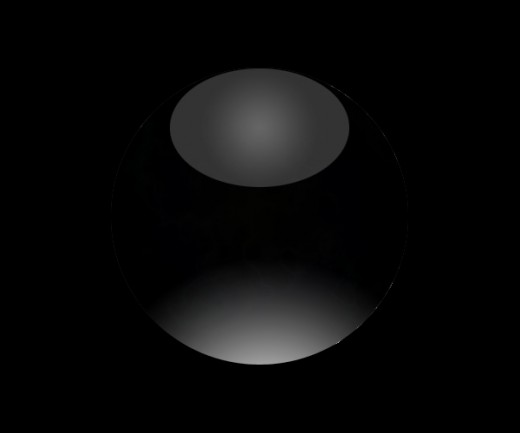
Create new circle of black color #000000 with Ellipse Tool then go to Filter > Render > Lens Flare.
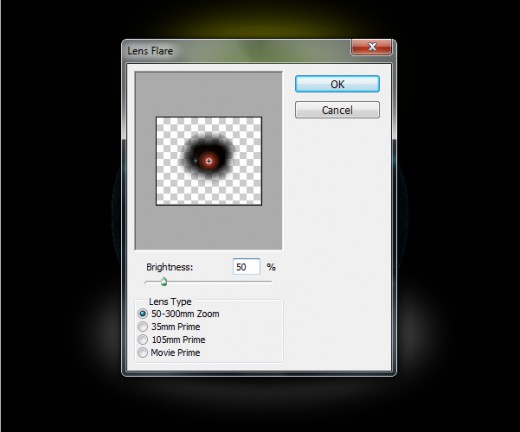
After lens flare we get nice effect on circle layer.
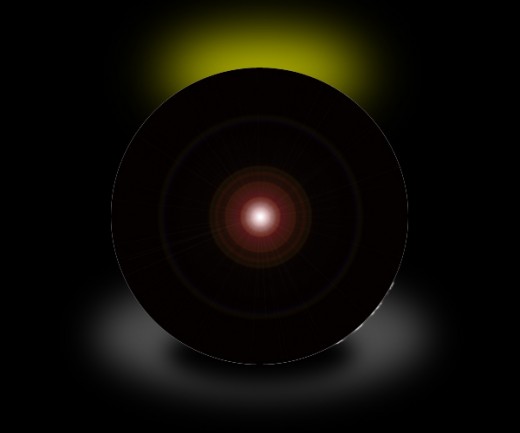
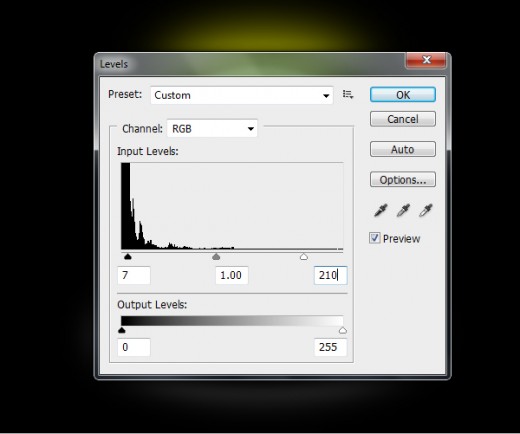
Now go to Image > Adjustment > Levels and set the levels setting.
Change the Bland Mode to (Screen) and see the result.
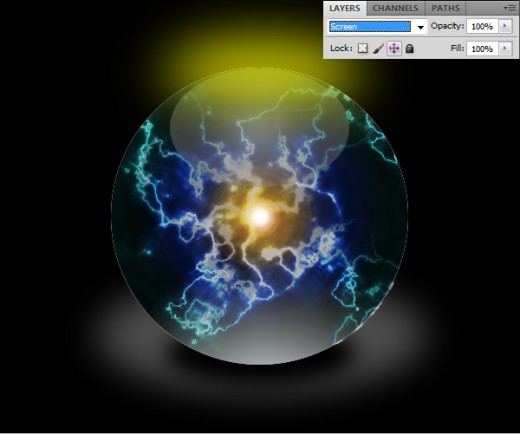
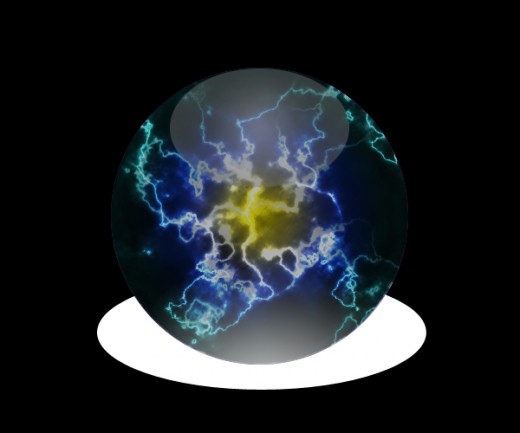
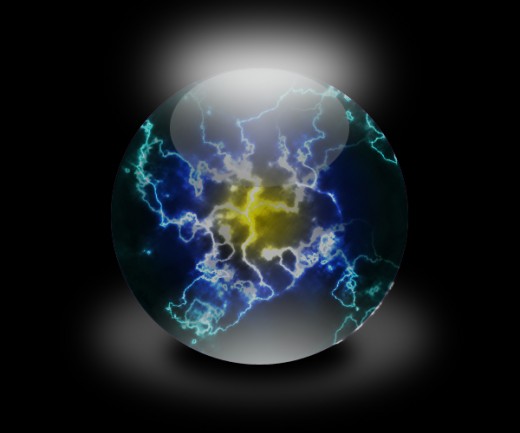
After set the blend mode we get awesome crystal ball in final preview.
Final Preview
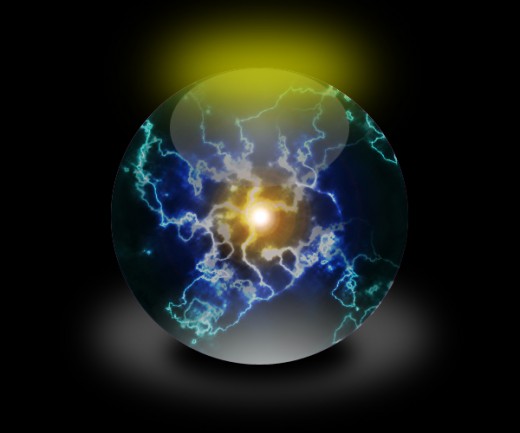
I hope you have enjoyed this wonderful and amazing Crystal ball tutorial. Always share your comments with us. Don’t Forget to Follow TutorialChip on Twitter or Subscribe to TutorialChip to Get the Latest Updates on Giveaways, Tutorials and More for Free.
This was terrific! I messed up the bottom reflection, but can’t wait to redo.
Thanks, Michael.