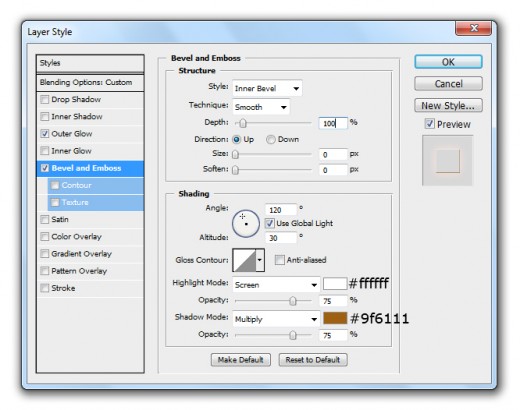
Step 8
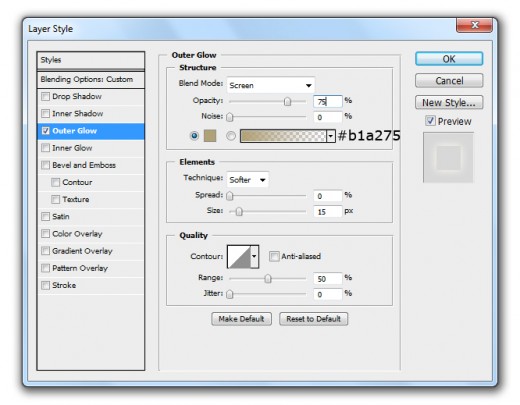
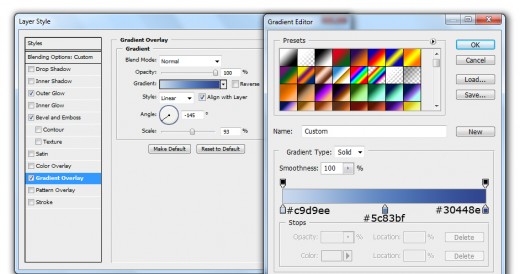
Select the 2nd shape layer right click on this layer and clear all old layer style, now go to the Blending Option and applying the Layer Styles on 2nd shape layer.
Outer Glow
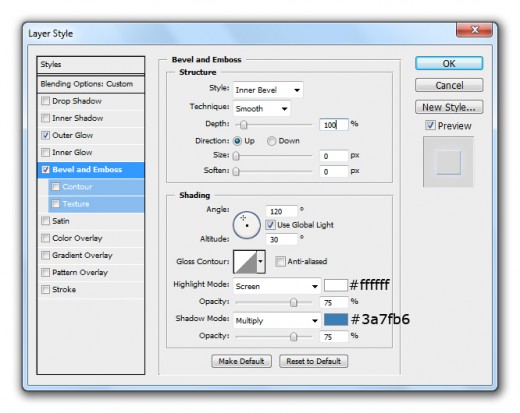
Bevel and Emboss

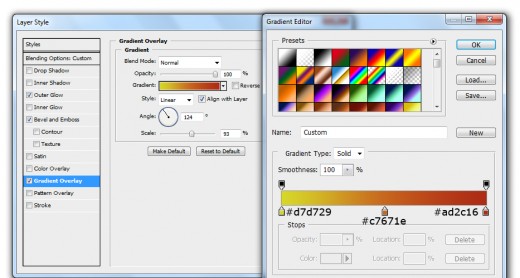
Gradient Overlay
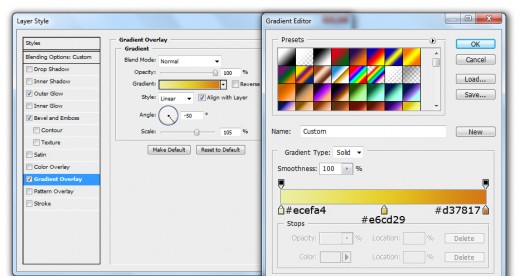
When we applying these blending options we get new effect on 2nd shape layer.
Step 9
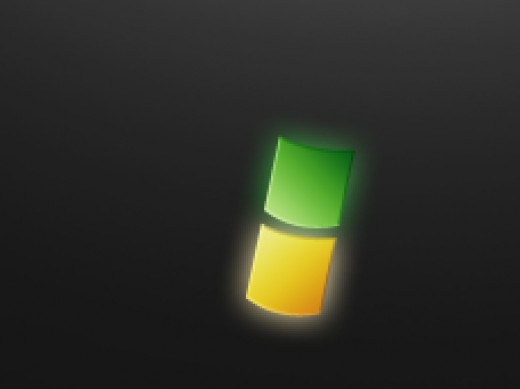
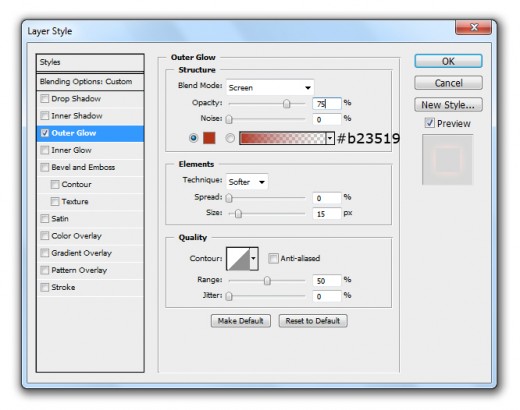
Duplicate 2nd shape layer go to Edit > Transform > Vertical and set it left side of 2nd shape layer as like in preview name it layer 3rd Shape.
Go to Layer > Layer Style and applying some Blending Options on this 3rd shape layer.
Outer Glow

Bevel and Emboss
Gradient Overlay
After applying these blending options we get new result on 3rd shape layer.
Step 10
Duplicate 3rd shape layer set it upper side as like in picture below name it layer 4rth Shape.
Go to the Blending Options and applying Layer Styles.
Outer Glow
Bevel and Emboss
Gradient Overlay
After applying these layer styles here you can see a new result.
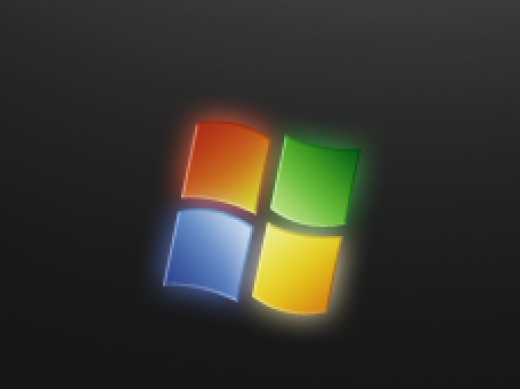
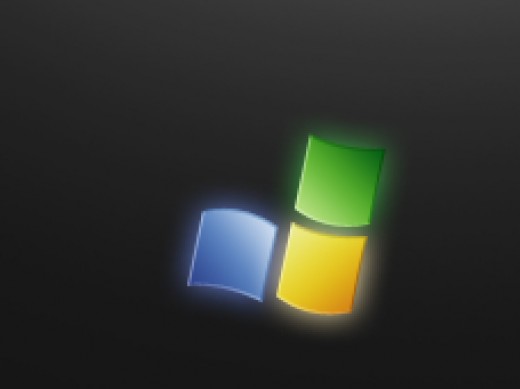
Step 11
Select all the four shapes and set them as like in picture below.
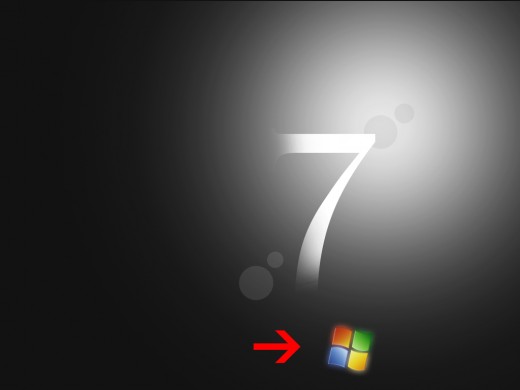
Step 12
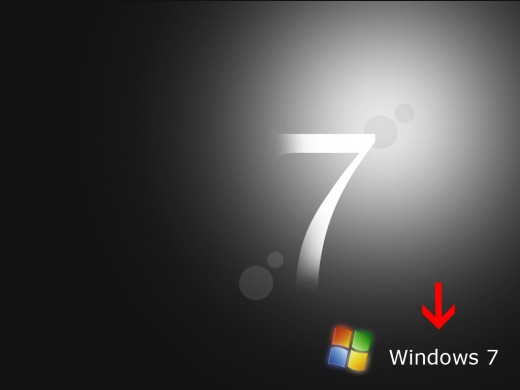
Select Text Tool and type some text as like I am typing (Windows 7).
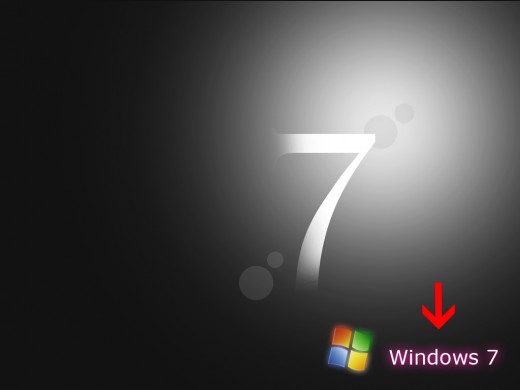
Go to the Blending Options and applying Outer Glow on text layer.
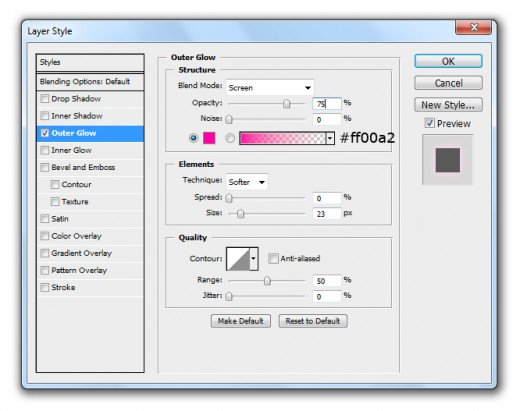
After applying outer glow get result.
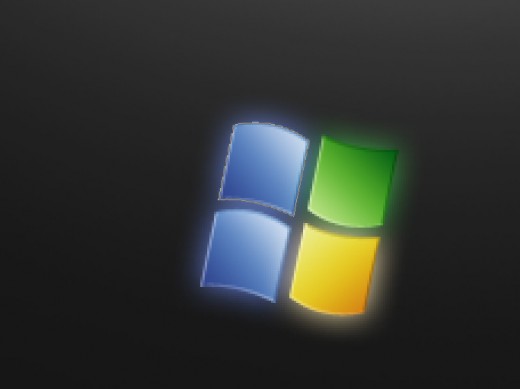
Step 13
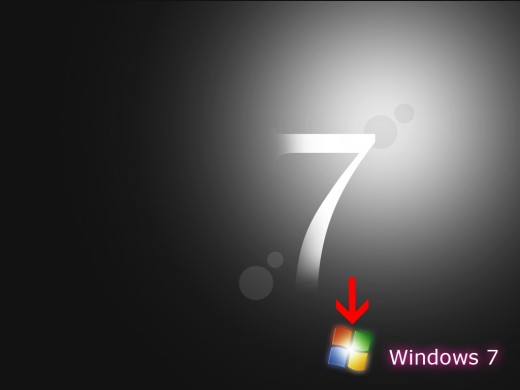
Select any Soft Round Brush (20px) and paint back side of the windows 7 logo with white color #ffffff.
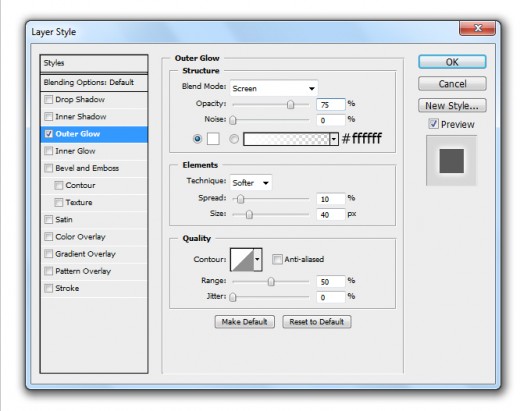
Step 14
Create new layer again select any Flower Brush and applying brush upper left corner to the canvas with white color #ffffff.
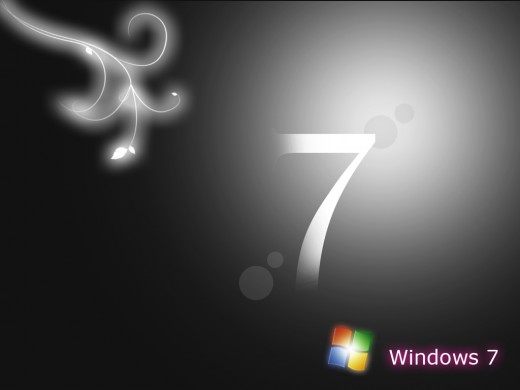
Go to the Blending Options and applying Outer Glow on this flower brush layer.
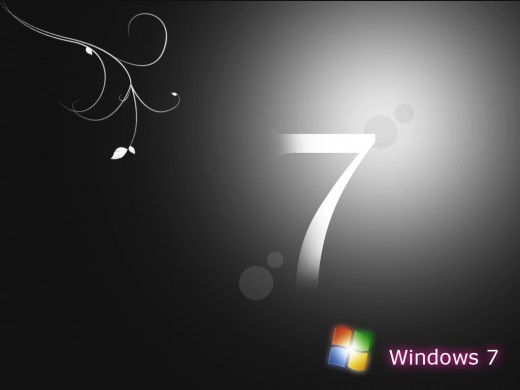
After complete this procedure here we get an awesome windows 7 wallpaper in final preview.
Final Preview
I hope you have definitely like this windows 7 wallpaper tutorial. Remember to share your comments with us. Follow TutorialChip on Twitter or Subscribe to TutorialChip to Get the Latest Updates on Giveaways, Tutorials and More for Free.