Step 8
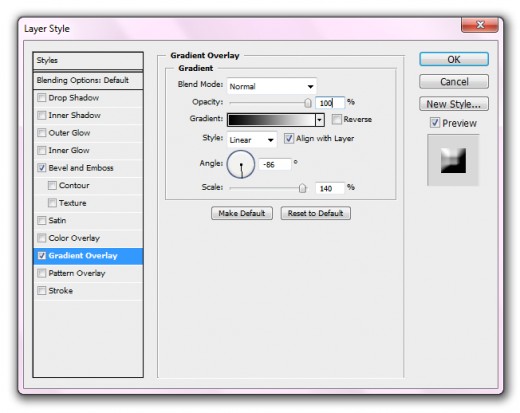
Now duplicate the Metal layer and applying some blending option.
- Bevel and Emboss
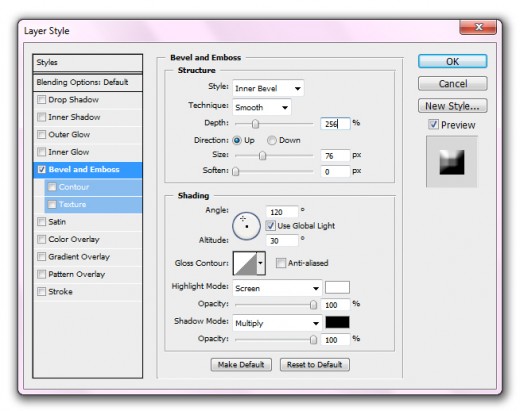
- Gradient Overlay
Step 9
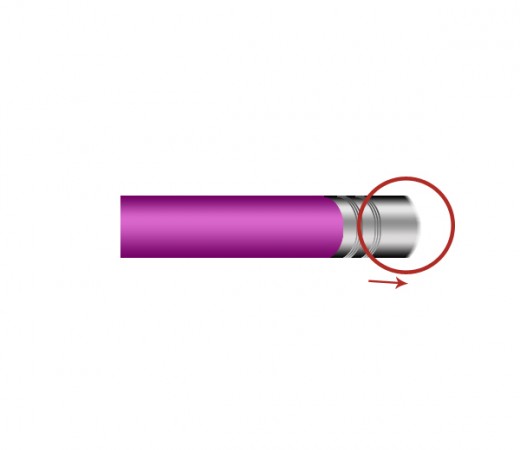
After applying these effect, select the pen tool and draw a path and after draw path, click on the selecting place and select the, make selection option and press the delete button.
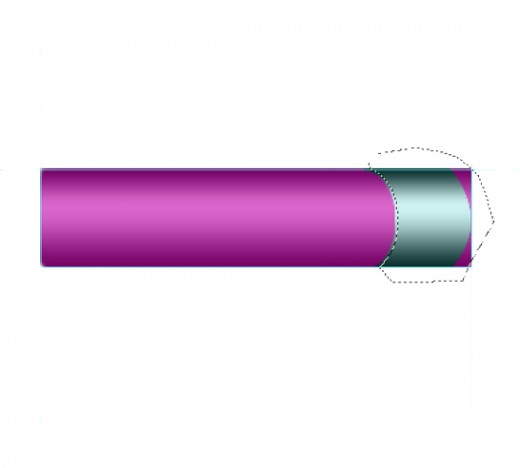
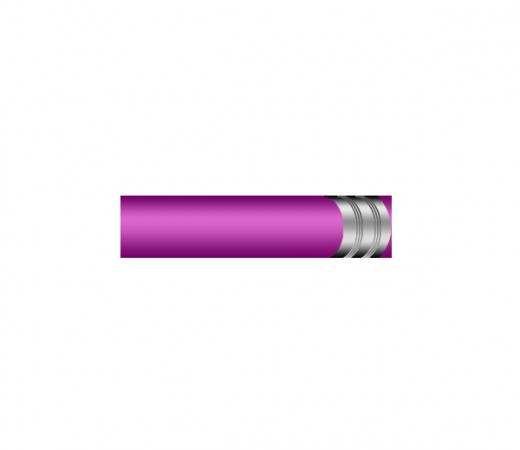
Now go to edit > transform and minimize the duplicate layer size to made pencil style, then duplicate this layer again 5 or 6 time and made a design like a back side of pencil.
Step 10
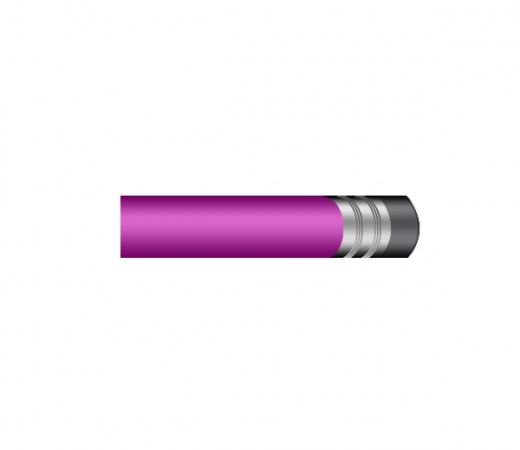
Now duplicate the metal layer named it eraser and move to the right side, as like in picture below.
Now applying the Hue Saturation, go to image > adjustment > Hue saturation or press (Ctrl+U), set Hue: 222%, Saturation: 30%, Lightness: -56, and check on the colorize box.
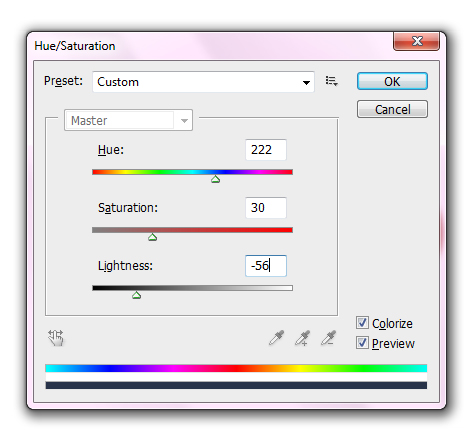
When we applying hue saturation, we get a cool eraser as like in picture below.
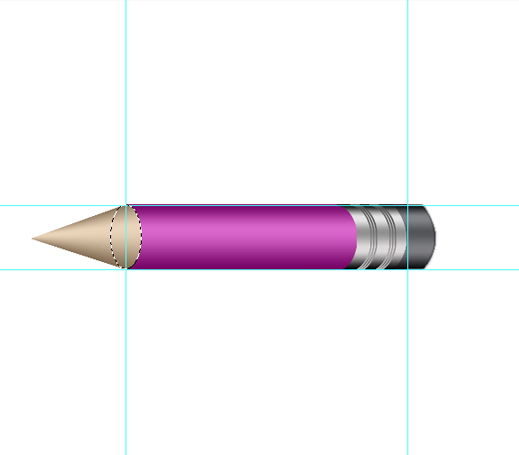
Step 11
Now select the polygonal lasso tool and draw pencil tip, and select any soft brush and fill the color in pencil tip #ffc600, as like shown in preview.
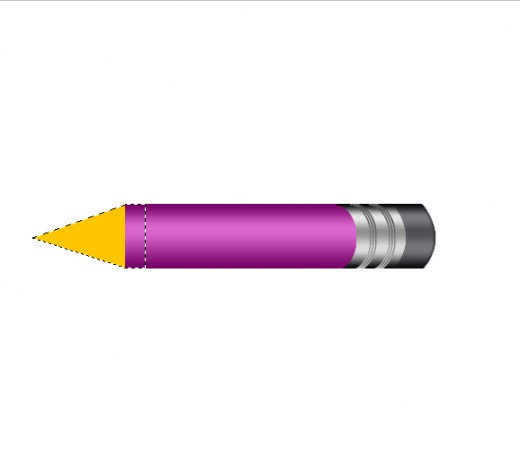
Now duplicate the pencil tip layer and applying hue saturation. Set hue 33%, saturation 53%, and lightness +37%.

Select the ellipse tool and draw a circle to erase the body and color both layer, as like you see below.
Step 12
duplicate one more time pencil tip layer and applying this effect.
Filter > Render > Fibers, use 10% for both variables and press ctrl+t and rotate it clock wise 90 degrees and scale it as shown awesome preview.
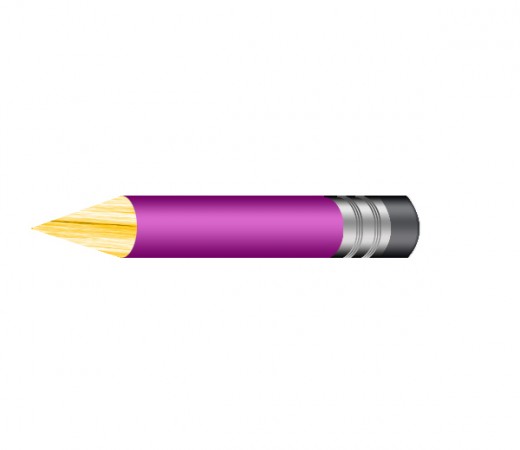
Now one more time select the ellipse marquee tool and draw a circle and cut the duplicate pencil tip layer like in picture below.
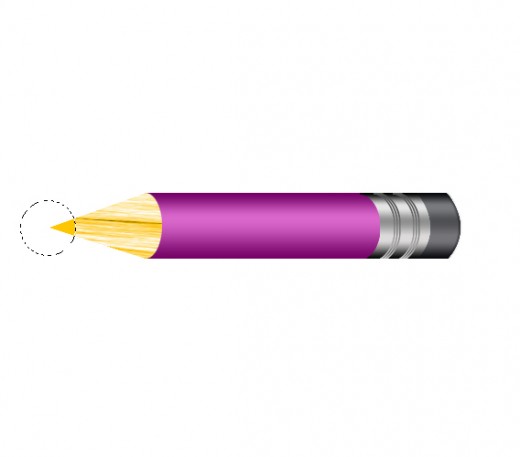
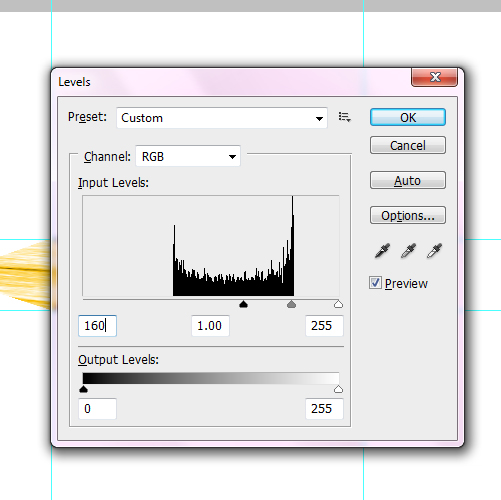
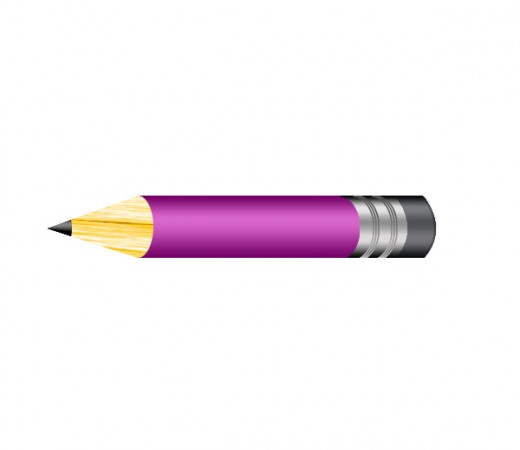
Step 13
Now select the original pencil tip layer and apply hue saturation press ctrl+U, set saturation -100% and hit Ctrl+L and apply these settings. This will make the tip darker and high contrast.
After applying this effect we get perfect pencil noke as shown picture below.
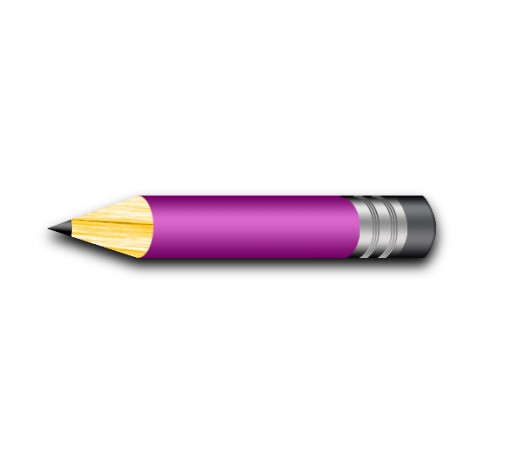
Step 14
Now select all the layer and press ctrl+E to merge them, named it pencil, then duplicate the pencil layer and name it shadow and apply black color #000000,
Go to filter > Blur > Gaussian blur, and set as like shown below.
Step 15
Now in the last step duplicate again pencil layer and set it down the shadow layer, and select all layer and press ctrl+T, or go to edit > transform, and rotate them anti clock wise and set this layer opacity till 30%. You can see this complete awesome pencil icon in final preview.
Final Preview
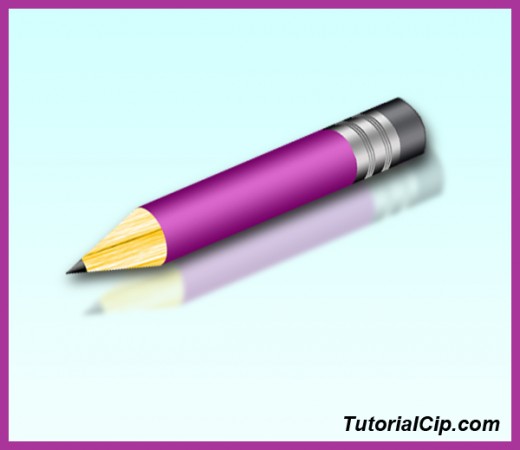
I hope you will like this pencil icon tutorial. Do it like this and share your opinion with us. Don’t Forget to Follow TutorialChip on Twitter or Subscribe to TutorialChip to Get the Latest Updates on Giveaways, Tutorials and More for Free.