Today I am going to share with you, how to create a amazing Cardiac Rate Effect using Adobe Photoshop. In this tutorial, I have used many techniques of Photoshop for create this Cardiac Rate Effect. I hope this tutorial will help you to enhance your Adobe Photoshop skills. Feel free to share your comments with us.
Other useful tutorials:
- Skype Logo Designing Tutorial Using Photoshop
- Photoshop CS5 Icon Tutorial in 5 Minutes
- Lighting Effect Tutorial in Photoshop
- Drawing a Pencil Icon in Photoshop
Tutorial Details:
- Program: Adobe Photoshop CS5
- Difficulty: Intermediate
- Estimated Completion Time: 30 Mins
Creating Cardiac Rate Effect in Photoshop: Final Preview

Tools and Resources
Tools
Following photoshop tools are used in this tutorial.
- Line Tool
- Text Tool
- Eraser Tool
- Gradient Tool
Let’s start to create our cardiac rate effect tutorial,
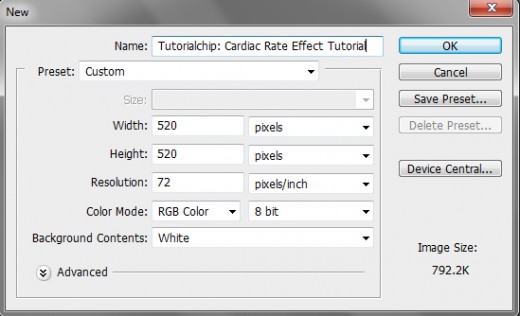
Step 1
Open Adobe Photoshop, and create a new Photoshop document. I am going to create a new document of 520 x 520 px with Black #000000 color.
Step 2
Select Horizontal Type Tool or Text Tool (T) and write something like Tutorialchip. Text color should be white, font selected was Swis721 BdOul BT Bold.

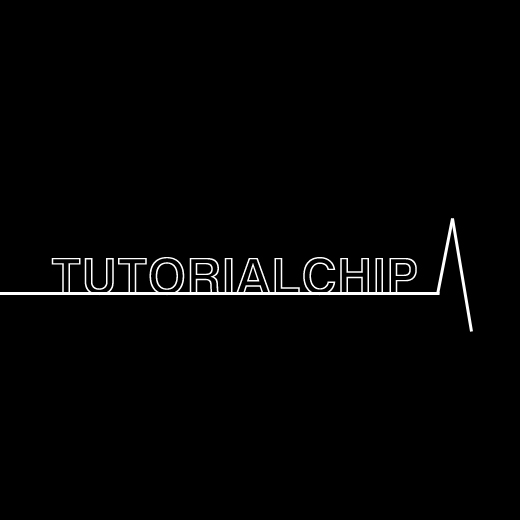
Step 3
In this step select the Line Tool (U) (Weight: 3 px) and draw the lines as like in picture.


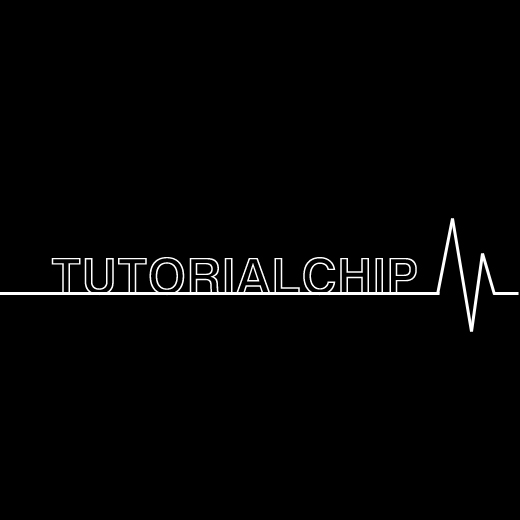
Step 4
Now Merge (Ctrl+E) all line layers with text layer into one layer. Select Eraser Tool (E) and hard round brush (15px, opacity 100%) and delete lines as shown in preview below.

Step 5
Now rotate this layer go to Edit > Transform > Rotate 90 CCW.

Step 6
Now we will applying Filter,
Filter > Stylize > Wind with following settings:
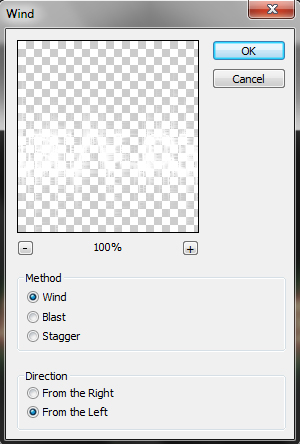
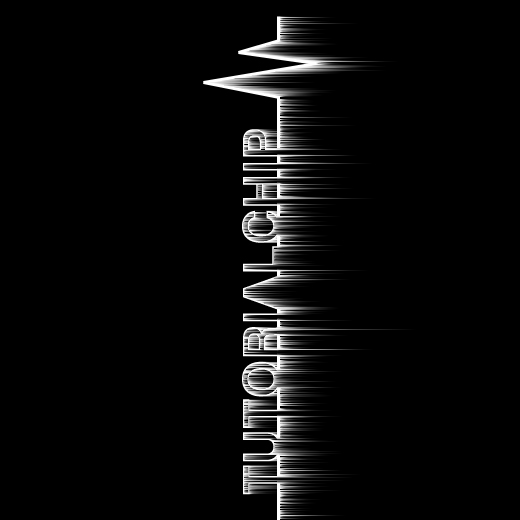
After applying wind filter we get a cool effect.

Press Ctrl+F one more time to repeat filter.
Step 7
Applying again Wind Filter, go to Filter > Stylize > Wind with following settings:
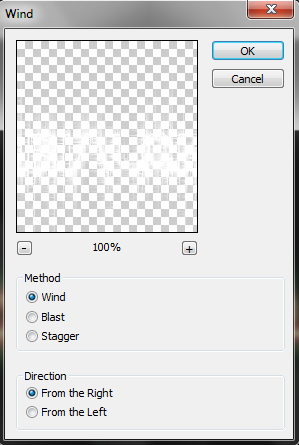
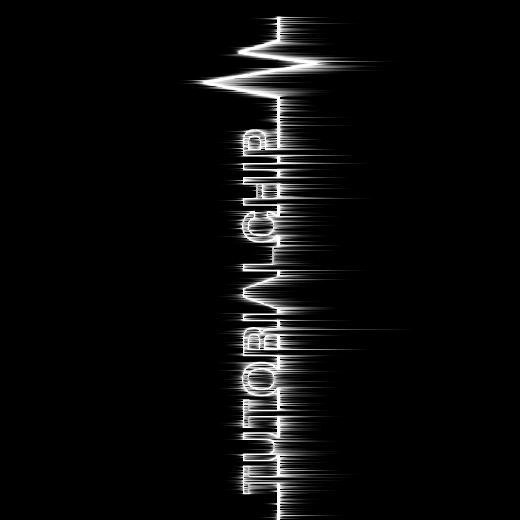
Press Ctrl+F one more time to repeat filter.
Step 8
Now we will rotate this layer, go to Edit > Transform > Rotate 90 CW.

Step 9
In this step we applying some Blending Options. Follow these layer styles.
Outer Glow:
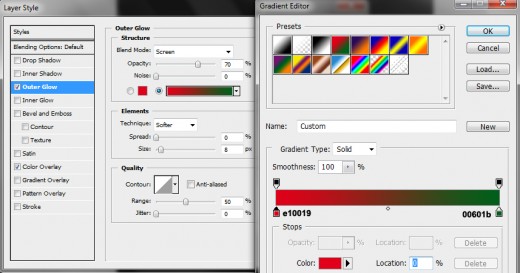
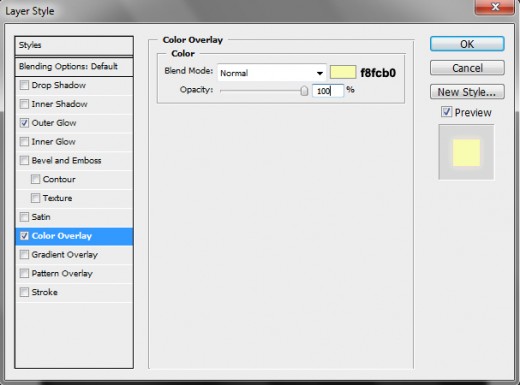
Color Overlay:
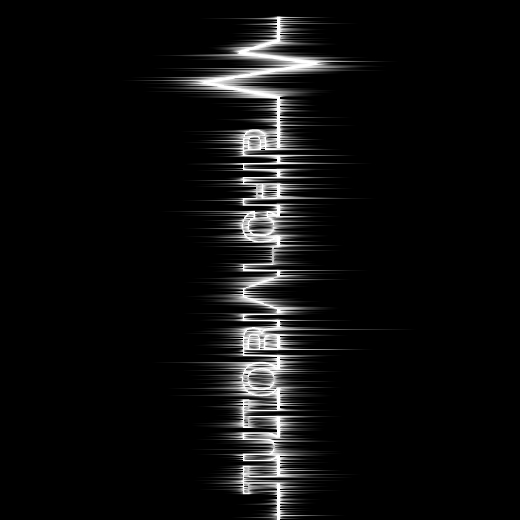
After applying these layer styles we get a very beautiful and awesome Cardiac Rate Effect as shown in final preview below.
Final Preview
I hope you have enjoyed this amazing Cardiac Rate Effect tutorial. Don’t Forget to Follow TutorialChip on Twitter or Subscribe to TutorialChip to Get the Latest Updates on Giveaways, Tutorials and More for Free.