3D Typographic design is now more popular and we can notice a surge for 3D type work on portfolio sites. Therefore, today I have created an awesome 3D Text Effect tutorial in Photoshop. You can try this tutorial to enhance your Photoshop skills.
For Further Reading:
- Fire Text Effect Tutorial in Photoshop
- Glowing Effect Tutorial in 30 Minutes
- Professional Photoshop Banner Tutorial
- Create a Broken Glass Text Effect in Photoshop
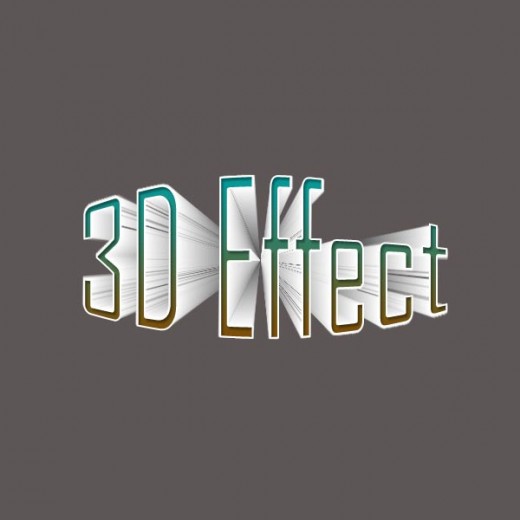
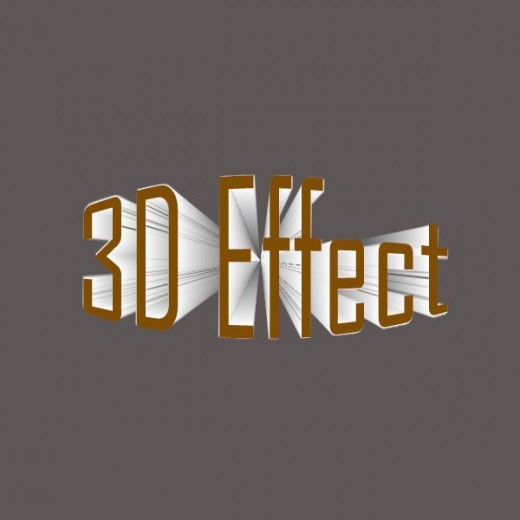
3D Text Effect Tutorial: Final Preview
Tools and Resources
Tools
These following photoshop tools are used in this tutorial.
- Text Tool
- Gradient Tool
Let’s start to create our 3D text effect,
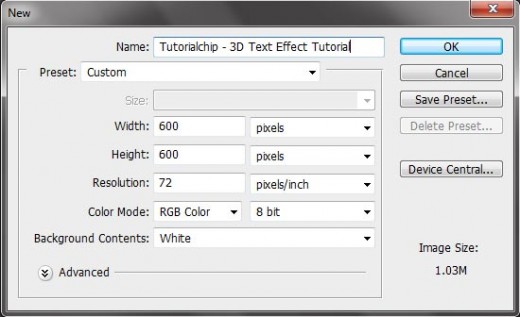
Step 1
Open Adobe Photoshop, and create a new Photoshop document. I am going to create a new document of 600 x 600 px with #5d5656 color background.
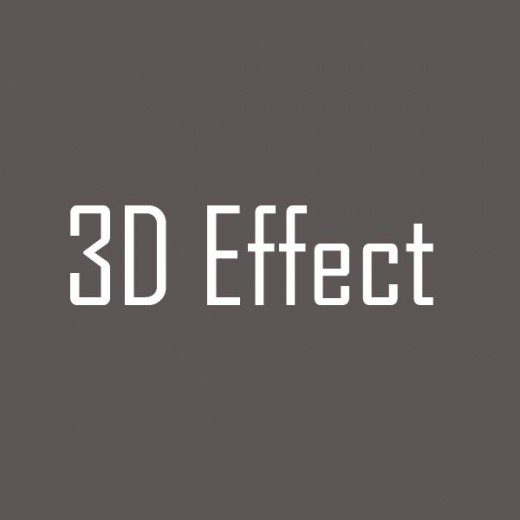
Step 2
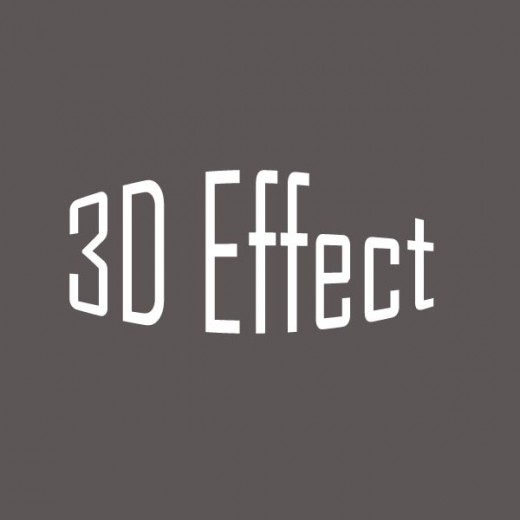
Select the Text tool and type any text as you like, but I have written 3D Effect with Agency FB font and text color is black #ffffff, font size is 150 as shown in preview below.
Step 3
With your type tool still selected, click on the Create Warped Text button to open the warp text box.

From the Warp text box, for style, select Bulge, and set your Bend to +30
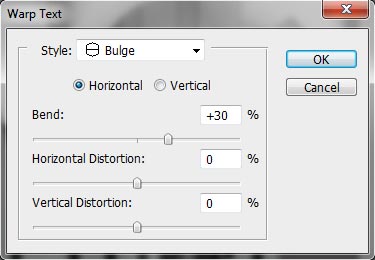
After setting the Warp Text Bulge style we get a very amazing text effect as shown in preview.
Step 4
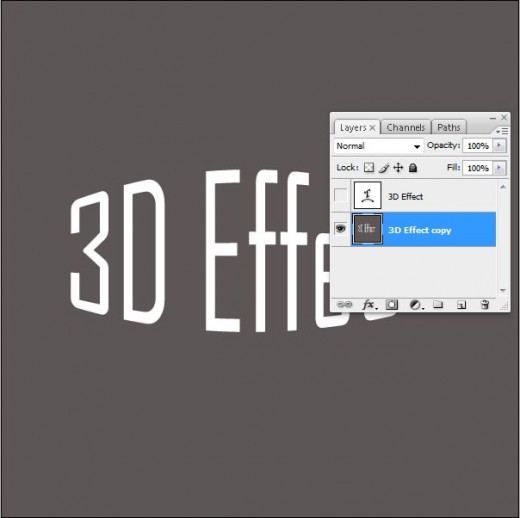
Duplicate the text layer, now we will work with this layer later, so set hide it now, click on the eye icon on the layers palette, now merge the bottom 2 layer together.
Layer > Merge Visible
so your layers pallete should have something like in this preview below.
Step 5
Now we are applying the Filter. Filter > Distort > Polar Coordinates
Check the Option: Polar to Rectangular.
Step 6
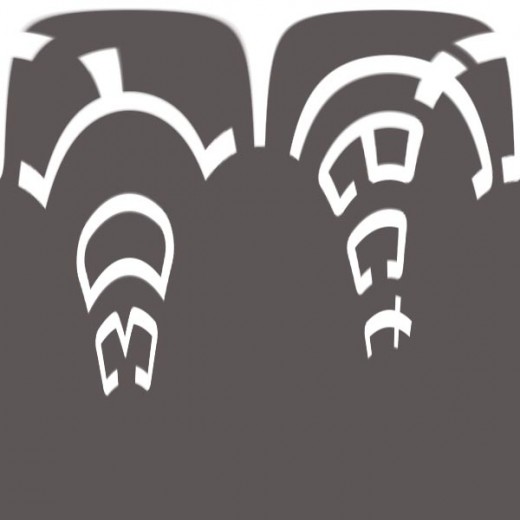
Now we will apply the Transform. Edit > Transform > Rotate 90CW. Now we go to Filter and apply the filter,
Filter > Stylize > Wind, Wind, Direction: From the left
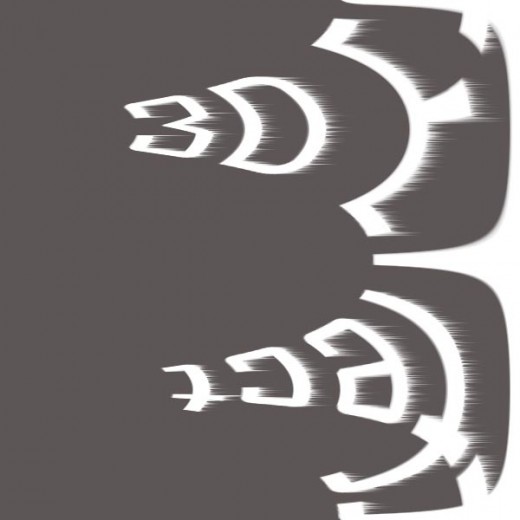
Now press Ctrl+F ten times to reapply the filter 10 more times. After this procedure we get a amazing effect as shown in this preview.
Step 7
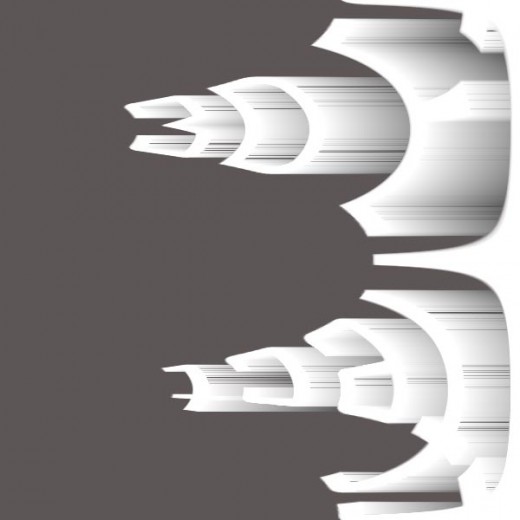
Now rotate the image again. Edit > Transform > Rotate 90CW. Then go to filter: Filter > Distort > Polar Coordinates. Options: Rectangular to Polar

Step 8
Now enable the top layer text you duplicated from the first step. Change its color to something you can see in preview below.
Step 9
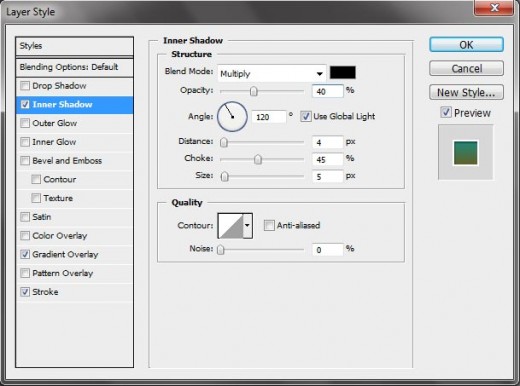
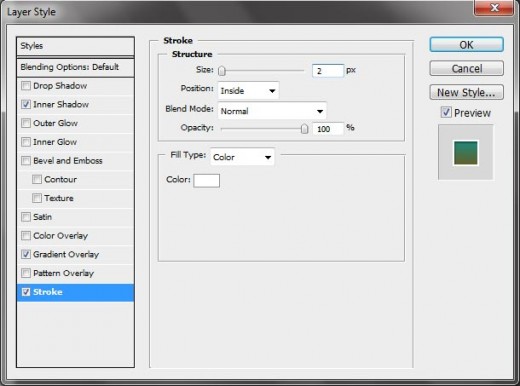
In this final step, we apply some Blending Options on this text layer fallow these folksinging blending options.
Inner Shadow
Gradient Overlay
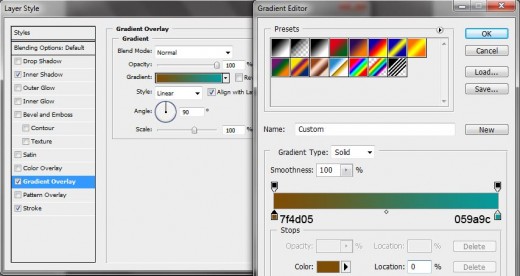
Stroke
After applying some blending options we get an awesome and outstanding 3D effect. You can see final preview below.
Final Preview
I hope you have enjoyed this 3D text effect tutorial and look forward to your comments. Don’t Forget to Follow TutorialChip on Twitter or Subscribe to TutorialChip to Get the Latest Updates on Giveaways, Tutorials and More for Free.