Today I am going to share with you an amazing apple wallpaper tutorial. This tutorial is very effective and easy. You can make your own any wallpapers to follow this tutorial. No worry about the time because this tutorial just take your 30 minutes to complete your own design wallpaper. So just enjoy it and share your opinions with us.
Other useful photoshop tutorials:
- Create a Realistic iPhone in Photoshop
- Tutorial: Drawing a Pencil Icon in Photoshop
- How to Create a Glass Table Icon in Photoshop
- Alluring Apple Safari Icon Tutorial in Photoshop
Tutorial details:
- Program: Adobe Photoshop CS5
- Difficulty: Intermediate
- Estimated Completion Time: 30 Mins
Download source file:
Create a Gimp Glowing Effect Apple Wallpaper in Photoshop – Final Preview

Tools and Resource


External Resource
Photoshop Tool
- Gradient Overlay
Lets start to create an apple wallpaper in photoshop.
Step 1
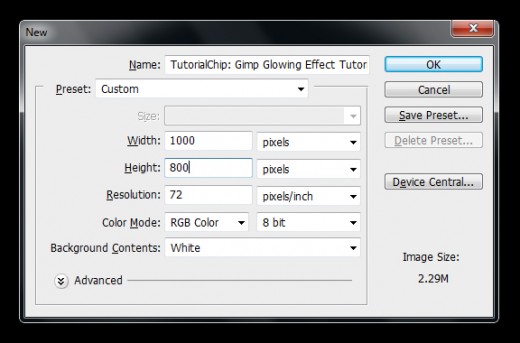
Create a new document (Ctrl+N) with 1000×800 of size.

Step 2
First of all create a new layer (Shift+Ctrl+N) applying black color #000000 name it layer Lens, now I am going to applying Filter on this lens layer.
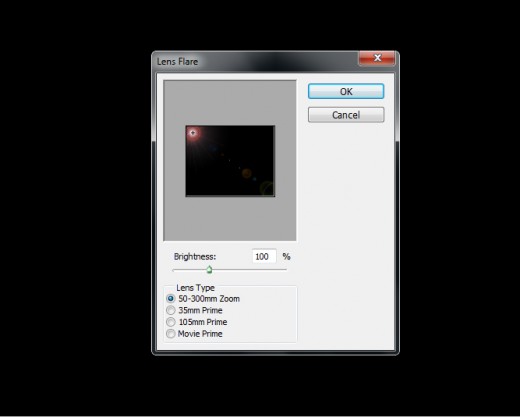
Go to Filter > Render > Lens Flare and select Lens Type (50-300mm Zoom) and set Brightness (100%).

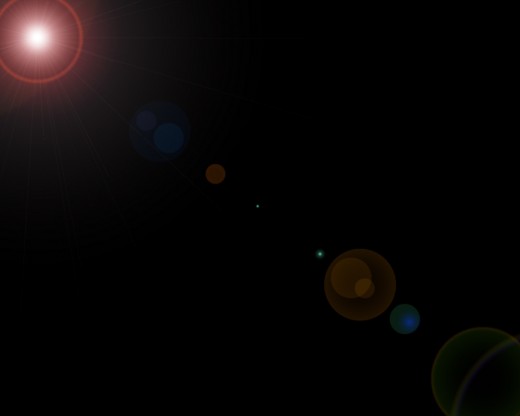
After applying filter we get a new effect on lens layer.

Step 3
In this step again I am applying Lens Filter on lens layer.
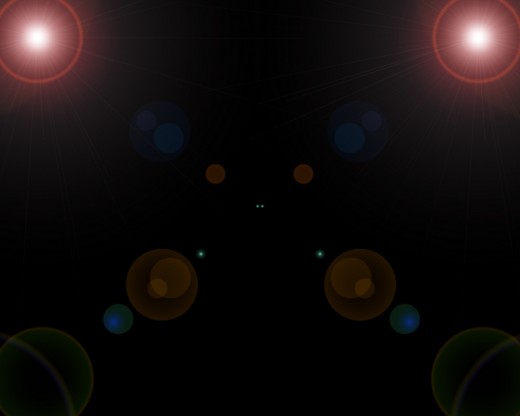
Go to Filter > Render > Lens Flare select Lens Type (50-300mm Zoom) and set Brightness (100%) now set lens on right upper corner.
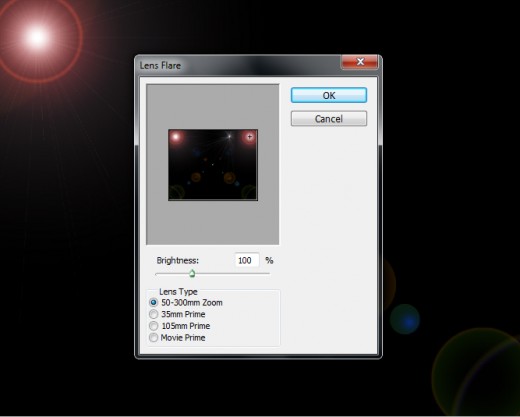

After applying lens flare we get nice effect as like in preview.

Step 4
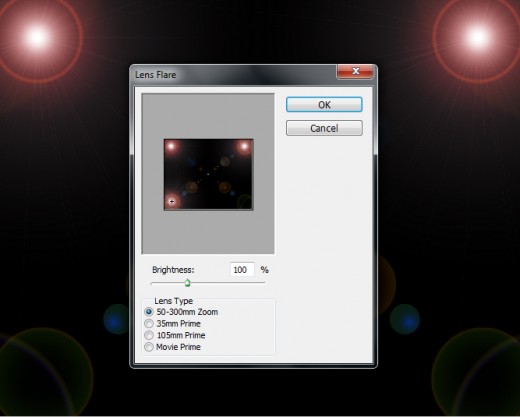
Here ones again applying Lens Filter on lens layer.
Go to Filter > Render > Lens Flare and applying same settings of step 3, just set lens on lower left corner as like in preview.

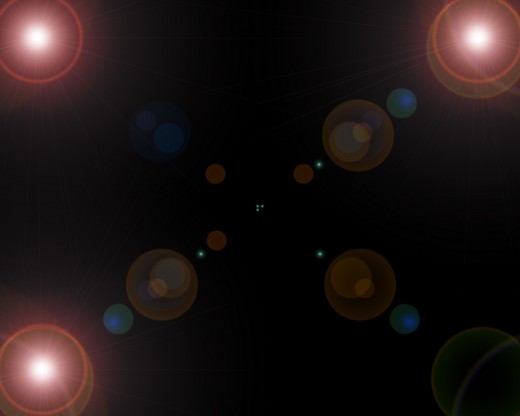
After these settings we can see new result.

Step 5
In this step again we are going to applying Lens Flare on this lens layer.
Go to Filter > Render > Lens Flare and set lens on right lower corner as like in picture below.
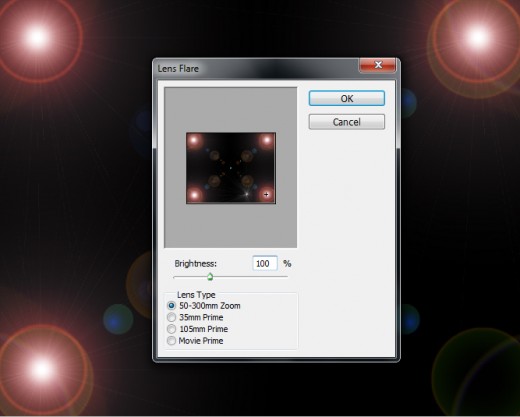

When we applying filter on lens layer we get beautiful result.
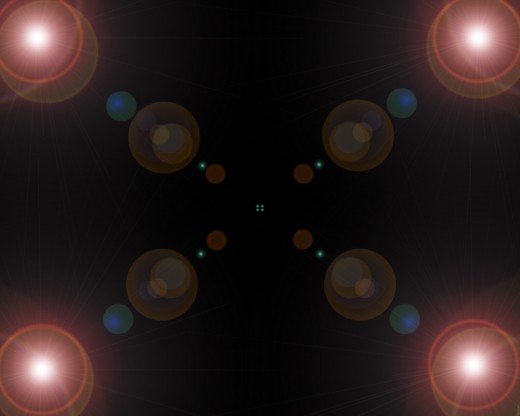

Step 6
Now go to Layer > New Fill Layer > Gradient, a gradient layer created then applying this setting.
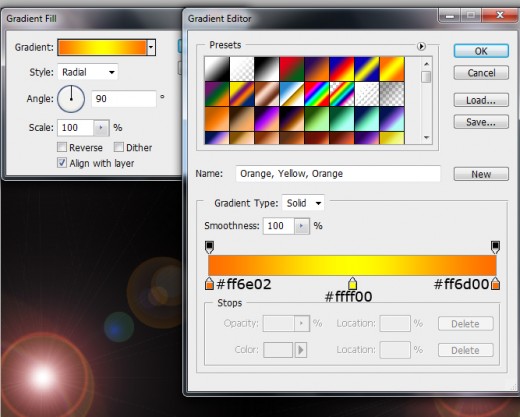

After applying gradient we get this result.
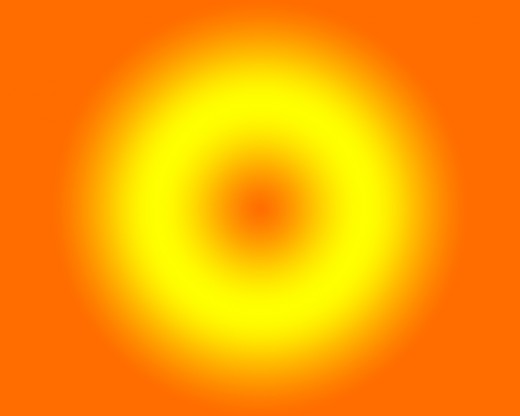

Set Blend Mode to (Subtract) of this gradient layer.
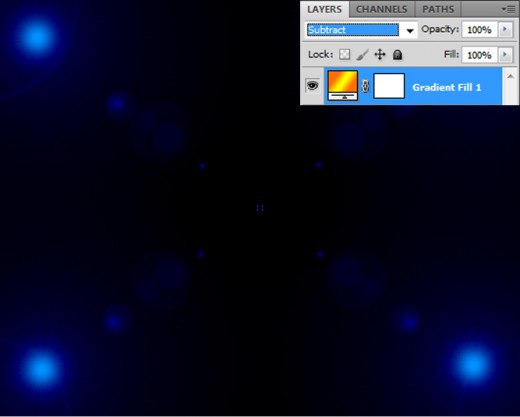

After change blend mode we get an awesome effect on gradient layer.
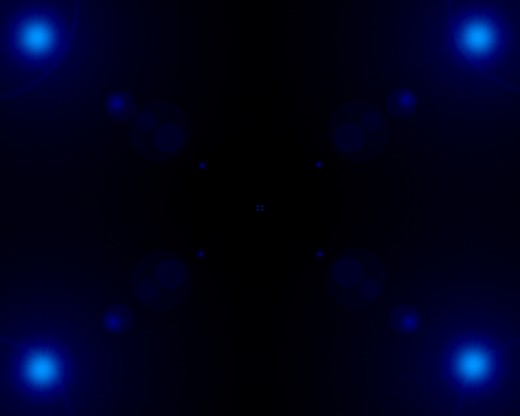

Step 7
Now create a new layer (Shift+Ctrl+N) applying white color #ffffff, then go to the Blending Options and applying Pattern on this layer.
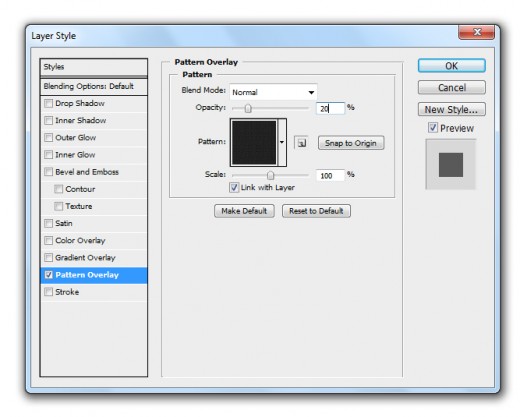

After applying pattern we get this result.


Set Blend Mode to (Overlay) of this pattern layer.
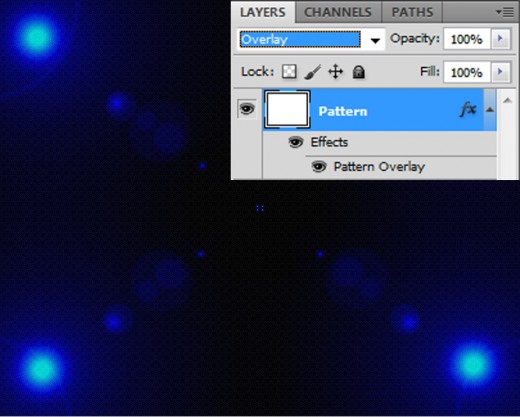

After set blend mode we get a new effect on pattern layer.


Step 8
Now add Apple Logo in photoshop.
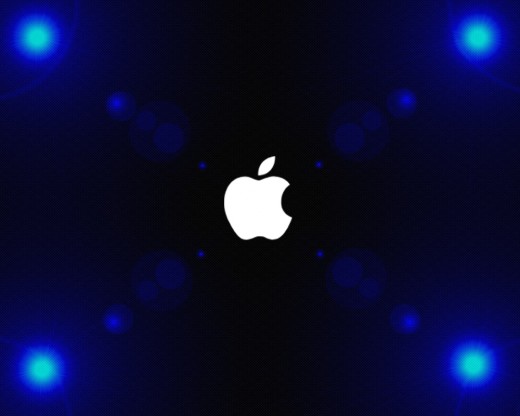

When we add apple logo in photoshop now applying Blending Options on this layer.
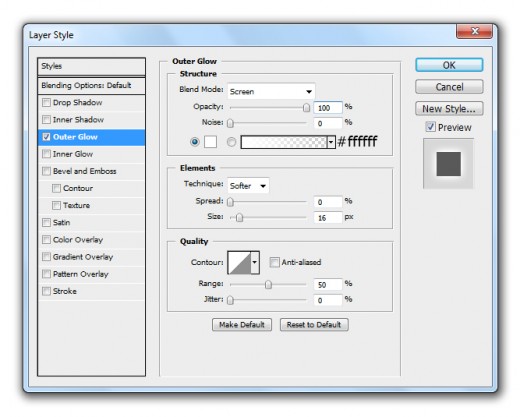
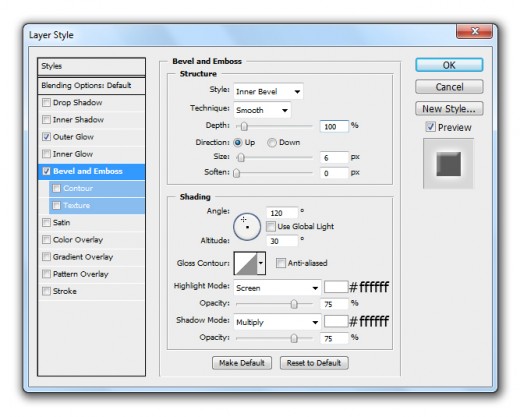
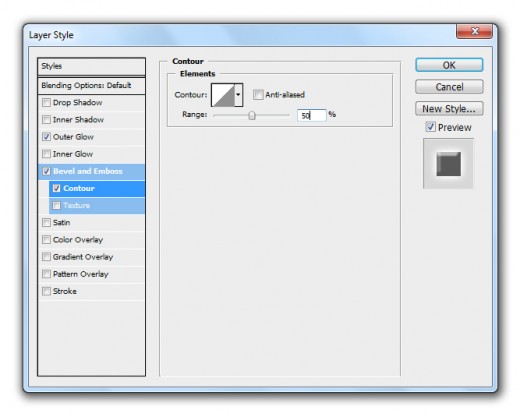
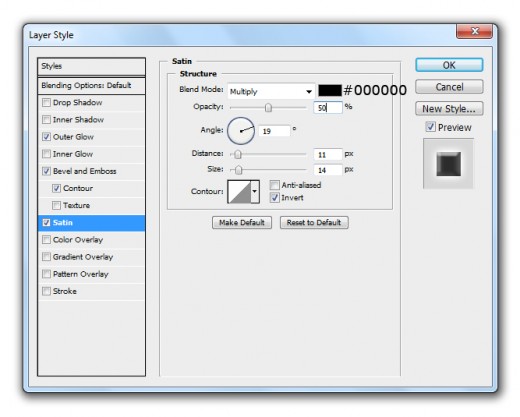
Go to Layer > Layer Style and applying these Blending Options.
Outer Glow

Bevel and Emboss

Contour

Satin

Gradient Overlay


After applying these layer styles we get a nice effect on apple logo layer.
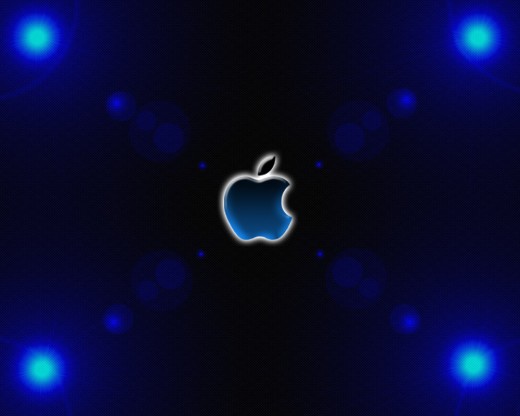

Step 9
In this step again select lens layer go to Filter > Render > Lens Flare and set lens center of the canvas as like in preview.
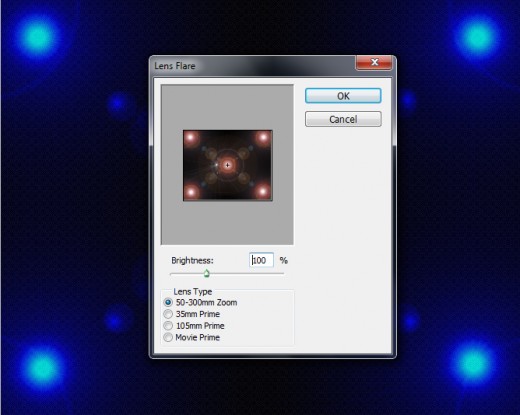

After set lens we get a nice effect as like in preview.
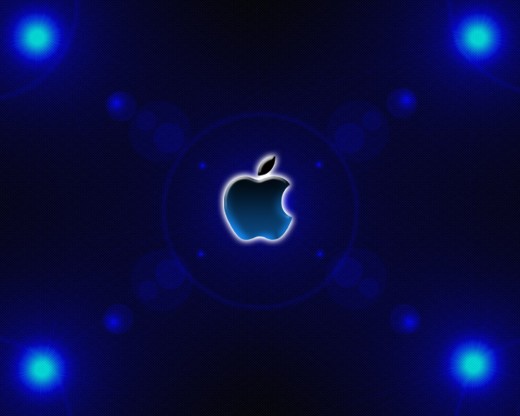

When we complete all steps here we get gimp glowing effect apple wallpaper in final preview.
Final Preview


I hope you have enjoyed this gimp glowing effect tutorial. Never forget to share your comments with us. Follow TutorialChip on Twitter or Subscribe to TutorialChip to Get the Latest Updates on Giveaways, Tutorials and More for Free.