A watch is a small timepiece, typically worn either on the wrist or attached on a chain and carried in a pocket, with wristwatches being the most common type of watch used today. So today, in this tutorial you will learn how to create a watch from scratch in adobe Photoshop. I will guide you step by step until it is complete.
Other Useful Tutorials:
- Create a Realistic iPhone in Photoshop
- How to Create a Bullet in Photoshop CS3
- Creating a MP3 Design: Photoshop Tutorial
- How to Make a Bluetooth Device: Photoshop Tutorial
Tutorial Details:
- Program: Adobe Photoshop CS5
- Difficulty: Intermediate
- Estimated Completion Time: 1 hour
Download source file:
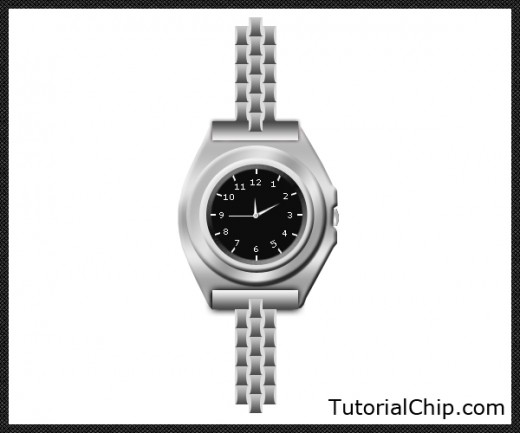
Creating a Slick Silver Watch in Photoshop – Final Preview
Tools and Resources
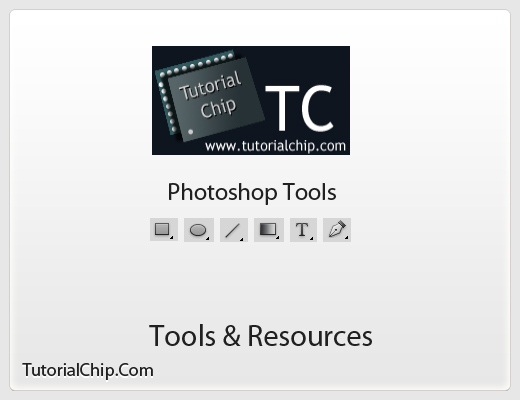
Tools
- Rectangle Tool
- Ellipse Tool
- Line Tool
- Gradient Tool
- Pen Tool
- Text Tool
Lets start to create a useful watch in Photoshop
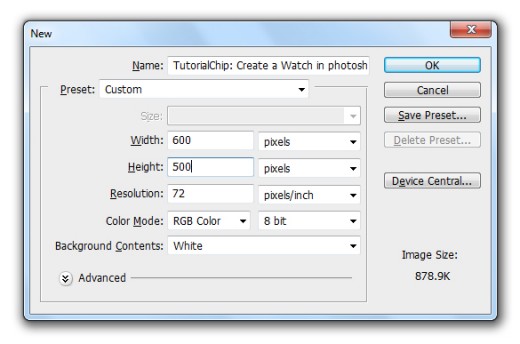
Step 1
Create a new document with white color #ffffff (600×500) of size.
Step 2
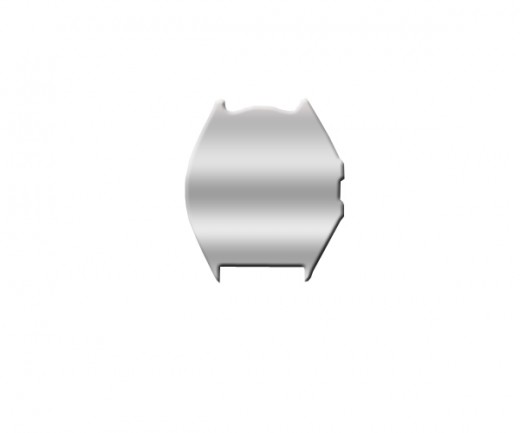
Select the Pen Tool and draw a path.
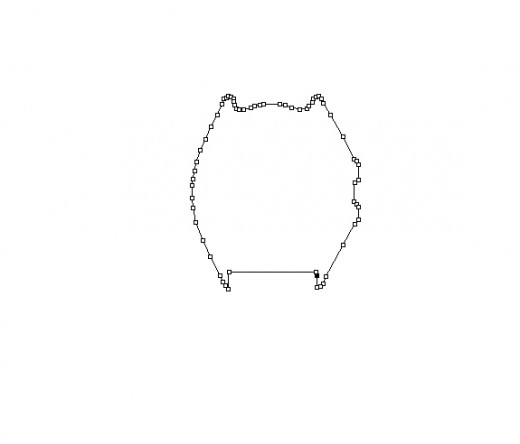
Right click on path and click on (Make Selection)
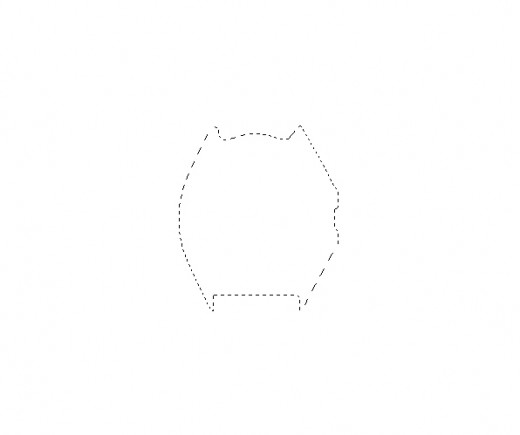
Now applying color #3a3a3a as like in picture

Step 3
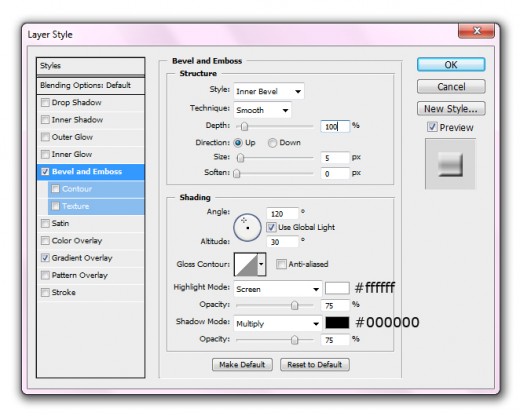
Now go to Layer > Layer Style or Blending option and apply some effects.
Bevel and Emboss
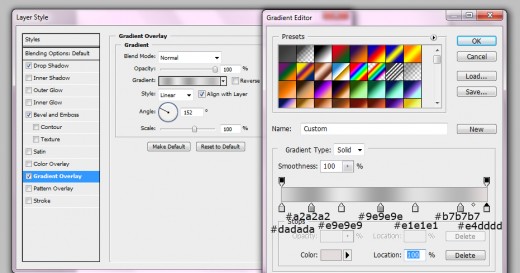
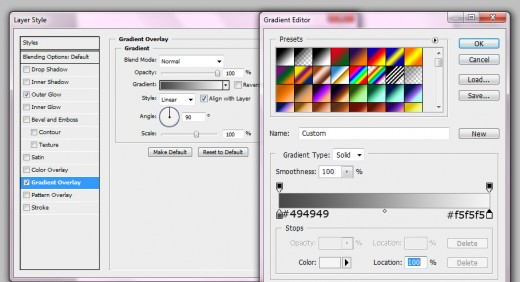
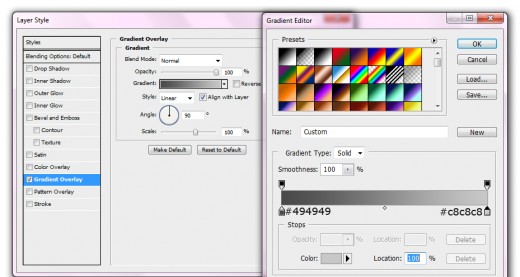
Gradient Overlay
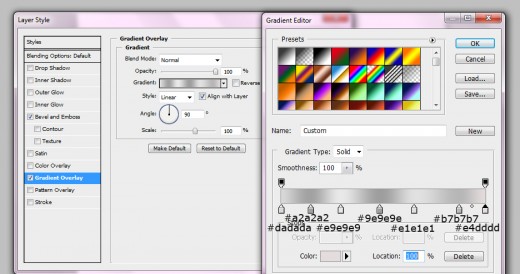
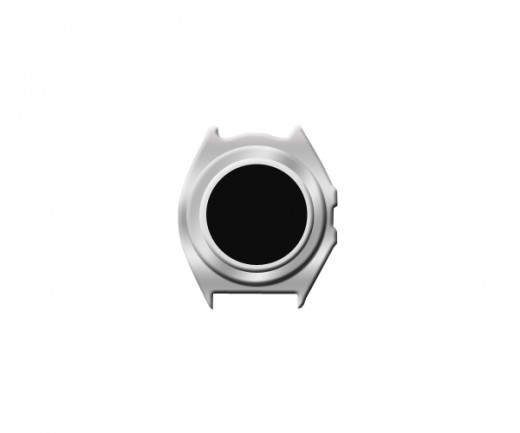
Now when we applying layer style we get a nice watch background.
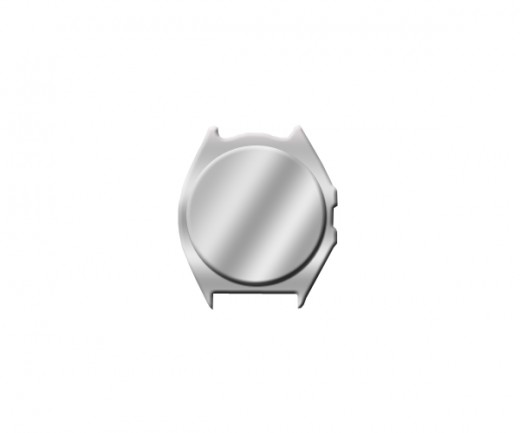
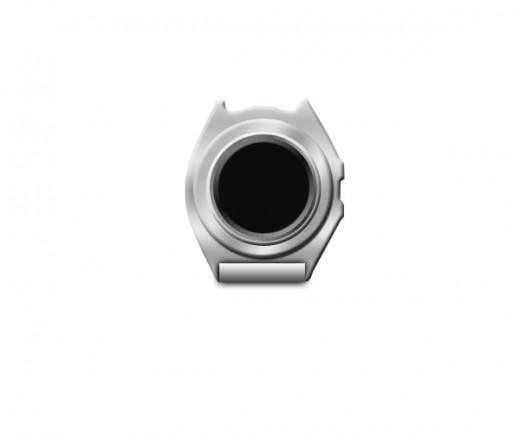
Step 4
Now select the Ellipse Tool and draw a circle with color #3a3a3a.
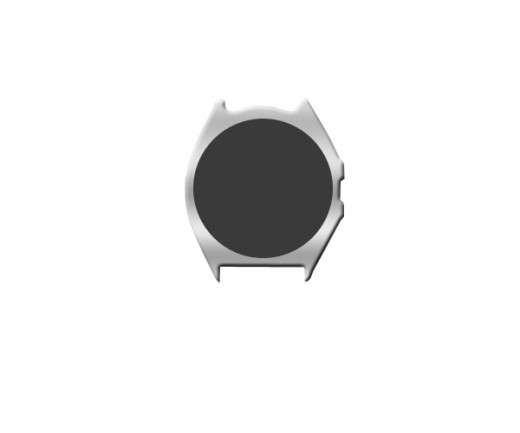
Applying some blending options on circle layer.
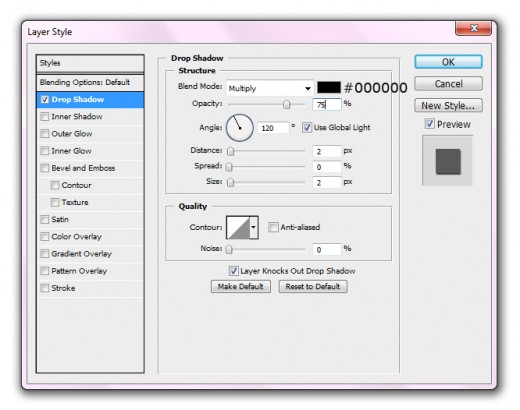
Drop Shadow
Bevel and Emboss

Gradient Overlay
After applying blending options we get a new style of circle.
Step 5
Now select the Ellipse Tool again and draw another circle on first circle layer with this color #dedede.
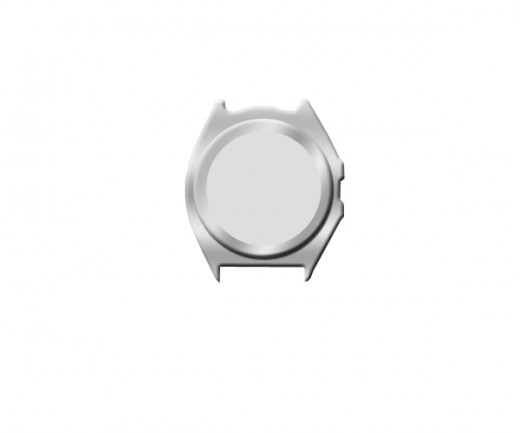
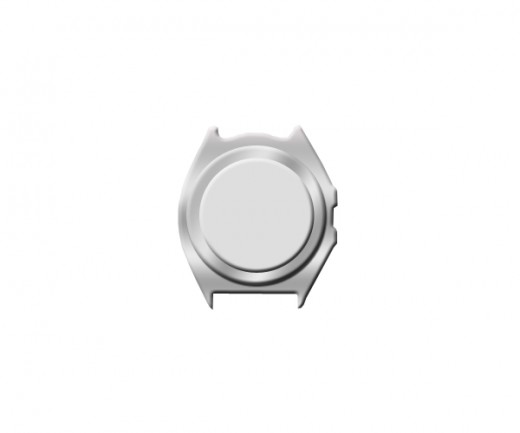
Go to Layer > Layer Style and applying Bevel and Emboss.
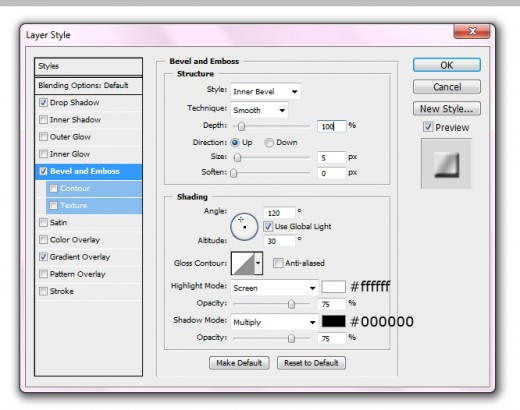
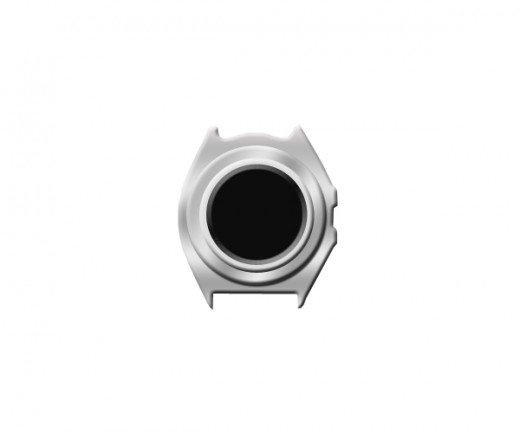
When we applying bevel and emboss we get new change in circle.
Step 6
Ones more time select Ellipse tool and draw another circle with black color #000000 center of the circles.
Applying Bevel and Emboss.

After applying Bevel and Emboss we get nice effect.
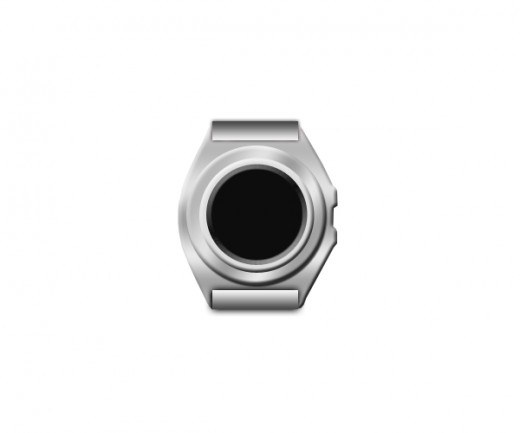
Step 7
Select Rectangle Tool and draw a rectangle with black color #000000 as like in preview.
Applying some blending options.
Outer Glow

Gradient Overlay
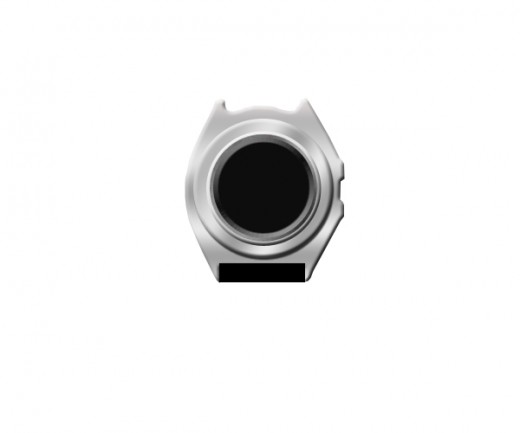
Now after applying some blending options we get nice effect.
Duplicate the rectangle layer and adjust upper side of watch skin as like in preview below.
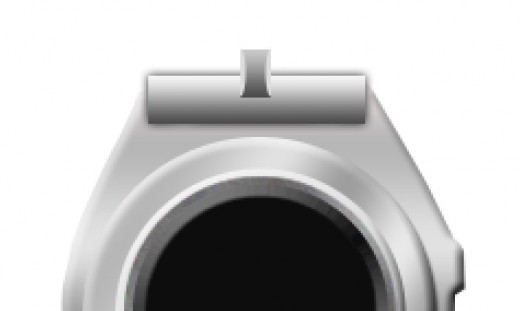
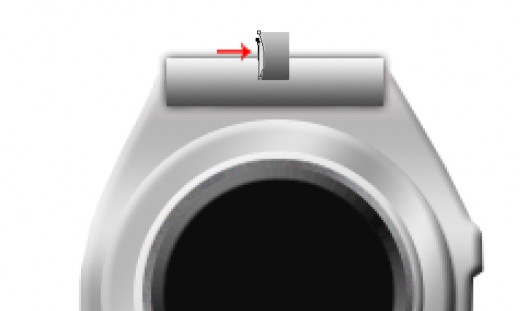
Step 8
Select Rectangle tool again and draw a small rectangle with color #a9a9a9 as like in picture.

Now applying Gradient Overlay on small rectangle.
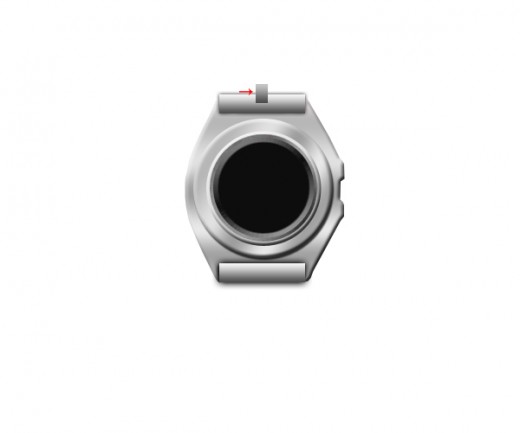
Step 9
Select the Pen Tool and draw a shape on small rectangle layer with color #dddddd as like in preview.
Now duplicate this shape layer and adjust right side as like in picture. Select the both shape layers and rectangle layer merge them (Ctrl+E). Name it layer Small Rectangle.