Photoshop smoke typography looks very interesting, beautiful and amazing. Today, i am going to share Photoshop Smoke Text in 10 easy steps within a short span of ten minutes only. I hope, you will enjoy it with a new edge of learning. Here’s another easy text tutorial using Adobe InDesign. Take a look.
You may also be interested in,
- Photoshop CS5 Icon Tutorial in 5 Minutes
- Professional Photoshop Banner Tutorial
- Photoshop Glowing Effect Tutorial in 30 Minutes
- Photoshop Navigation Bar Tutorial: Simply The Beautiful
- Photoshop Button Tutorial: iPhone Inspiration
Photoshop Smoke Text Tutorial Final Preview
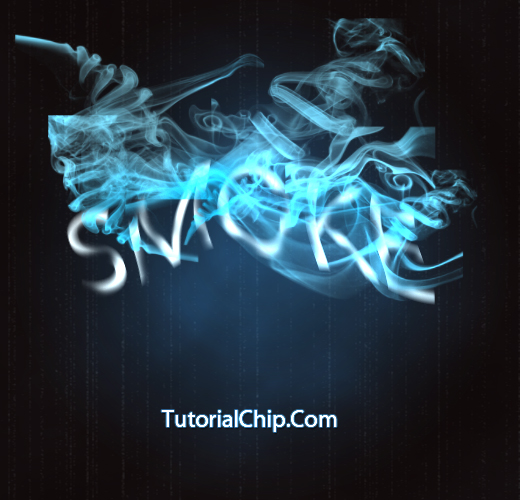
Tools and Resources


We will use following tools and resources to complete this tutorial.
- QBrushes Smoke Brush Set
- Type Tool
- Brush Tool
- Smudge Tool
- Dodge Tool
- Eraser Tool
- Photoshop Filters
Let’s start to create our stunning smoking text.
Step 1
Open Adobe Photoshop, and create a new Photoshop document. I am going to create a new document of 520 x 500 px with white background.


Step 2
Create a new layer and name it “Smoke Back”. Fill it with the color #000000 and apply the following blending options to this layer.
Gradient Overlay
- Blend Mode: Normal
- Opacity: 100%
- Gradient: #223f59 (Location: 0%), #120a0a (Location: 100%)
- Style: Radial
- Angle: 90
- Scale: 100%


Step 3
Let’s write some text. Text tool will create a new layer above the “Smoke Back” layer. My text settings are,
Text Tool
- Font: Myriad Pro
- Weight: Regular
- Size: 120 pt


Step 4
I am going to “Rasterize” text layer in order to apply some effects. Let’s have the following steps.
Rasterize Type
- Right Click on text layer.
- Click on “Rasterize Type”. It will rasterize type layer. You can make duplicate of this layer as a backup because you will be unable to edit text after rasterizing.
Motion Blur Filter
- Apply Motion Blur Filter: Filter > Blur > Motion Blur
- Angle: 90
- Distance: 10


Step 5
I am going to apply Wave Filter to give a realistic smoke effect,
Wave Filter
- Apply Wave Filter: Filter > Distort > Wave
- Number of Generators: 5
- Wavelength: Min. 10, Max. 250
- Amplitude: Min. 5, Max. 15
- Scale: Horiz. 100%, Vert. 100%


Step 6
Create a new layer above the “SMOKE” layer. Name this layer “Clouds”. Let’s proceed to complete Step 6.
Clouds Filter
- Apply Clouds Filter: Filter > Render > Clouds
- Blending Options: Color Dodge
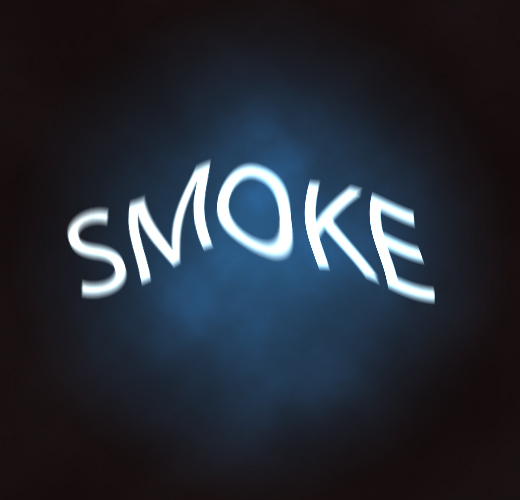

Step 7
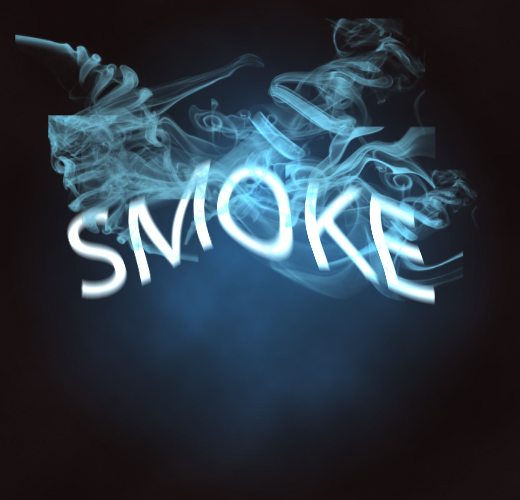
Now we will create some smokes by using “Qbrushes: Smoke Brush Set“. Create a new layer above the “SMOKE” text layer. Name this layer “Smoke Brush”, and try to create the following smoke effect as close as possible. I have used “150 – 300 px” different brush strokes to create the following effect.

Step 8
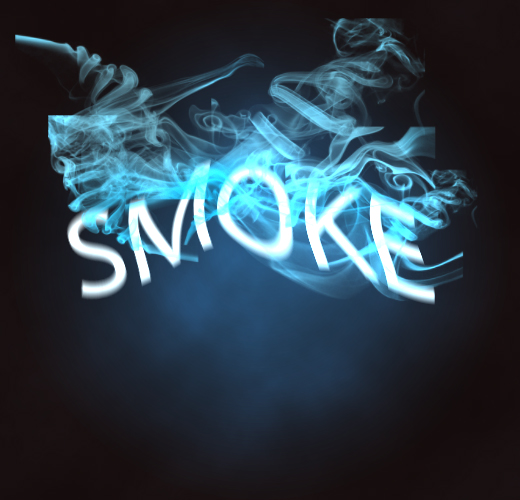
Select the “Dodge Tool”, and apply it on the adjacent places of text and smoke. You can also apply some dodge effect on the tips of smoke. Here is the preview of Step 8 after applying Dodge Tool effect.

Step 9
Create a new layer above the “Smoke Back” layer. Name this layer “Texture”. Fill this layer with #000000 color and do as follows,
Grain Texture Filter
- Grain Texture: Filter > Texture > Grain
- Intensity: 50
- Contrast: 40
- Grain Type: Vertical
Set the Layer Opacity to 20%


Step 10
Let’s make our text more Smokey. Select the “SMOKE” text layer and do as follows.
- Tool: Eraser Tool
- Brush Type: Soft Round Brush
- Size: 30 px
Carefully erase the text to bring a more smokey effect. We have done our Photoshop Smoke Text Tutorial in 10 easy steps.


I hope you have enjoyed the tutorial. Don’t Forget to Follow TutorialChip on Twitter or Subscribe to TutorialChip to Get the Latest Updates on Giveaways, Tutorials and More for Free.
i like your graphics its amazing i want to learn more.
Really like the final result 🙂