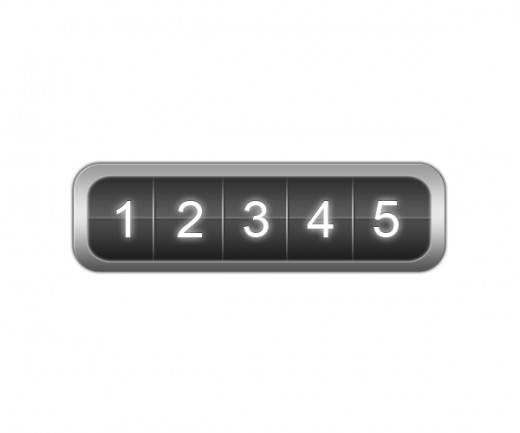
Today, we are going to create a new stylish Rolling Counter in Photoshop. This tutorial is very interesting and easy to learn. In this tutorial, we have used useful and easy techniques to make this cool rolling counter. We are hopeful that you will like our creation. Feel free and share your comments with us.
Other Useful Tutorials:
- Tutorial: Drawing a Pencil Icon in Photoshop
- Attractive Yellow Flower Tutorial in Photoshop
- Create a Beautiful Lady Bag Using Photoshop
- Learn to Create Abstract Explosion in Photoshop
Tutorial Details:
- Program: Adobe Photoshop CS5
- Difficulty: Intermediate
- Estimated Completion Time: 50 Mins
Download source file:
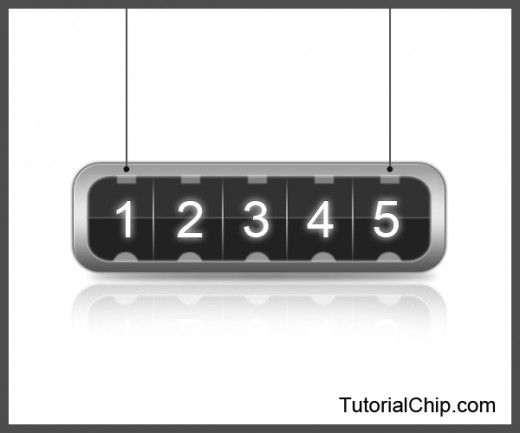
Create a Rolling Counter in Photoshop: Final Preview
Tools and Resources

Tools
Following photoshop tool are used in this tutorial.
- Rounded Rectangle Tool
- Gradient Overlay
- Rectangle Marquee Tool
- Ellipse Tool
- Rectangle Tool
- Eraser Tool
- Text Tool
Lets start to create a terrific rolling counter in Photoshop
Step 1
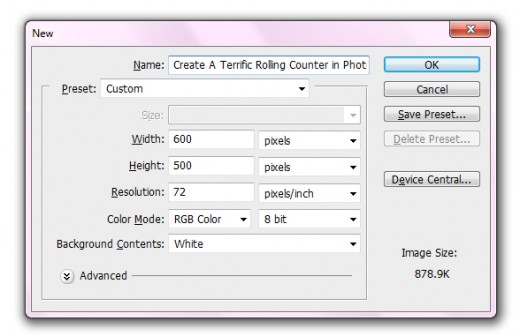
Start to create a new document (Crtl+N) 600×500 of size.
Step 2
Select the Rounded Rectangle tool from tool panel, draw a rounded shape named it layer “border”, with this color #515151.

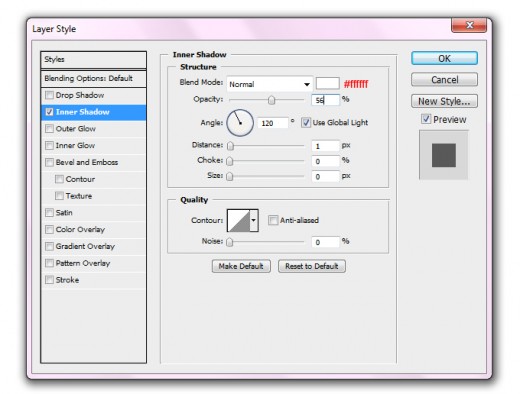
Now applying some blending options on this border layer.
Inner Shadow
Outer Glow
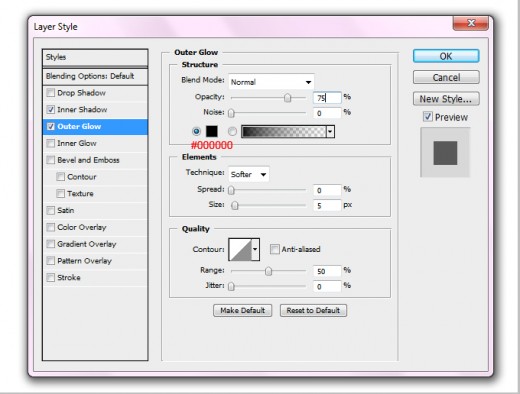
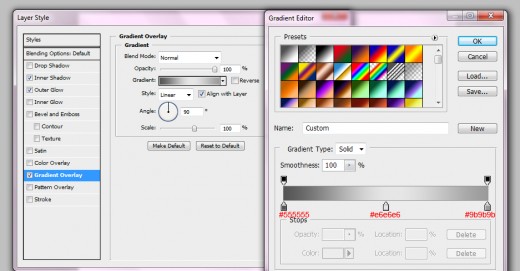
Gradient Overlay
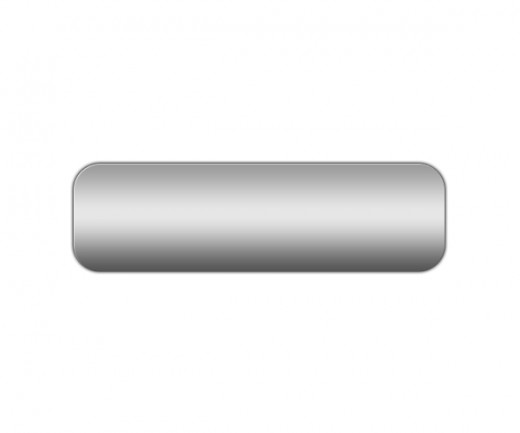
After applying these effects, we get cool border as below in picture.
Step 3
Select rounded rectangle tool again and draw a shape in the middle of border layer apply this color #222222,
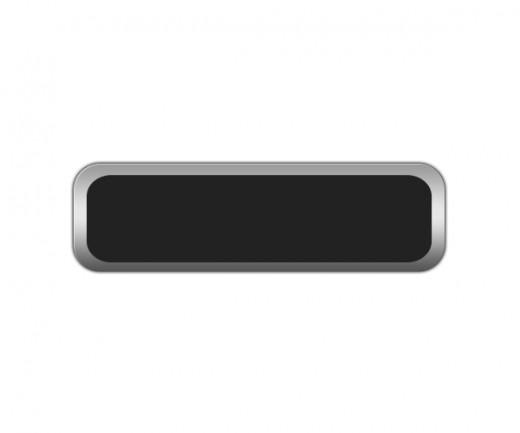
Now applying some blending options on this layer.
Gradient Overlay
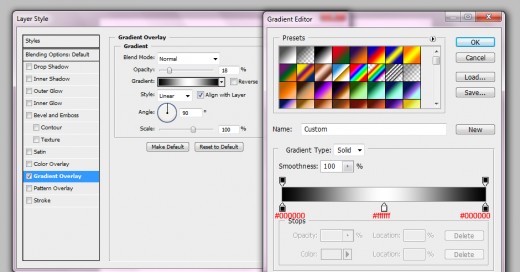
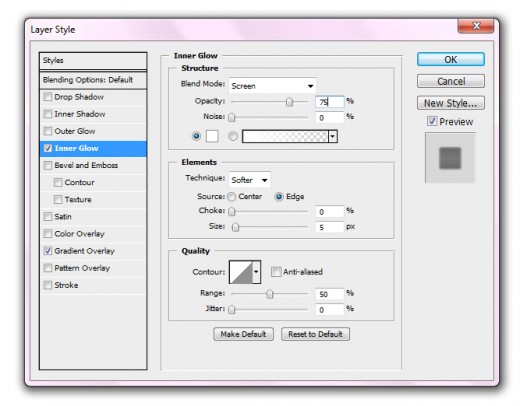
Inner Glow
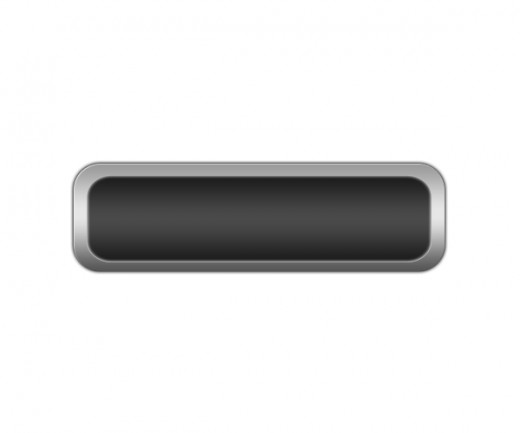
After applying blending options we get nice effect.
Step 4
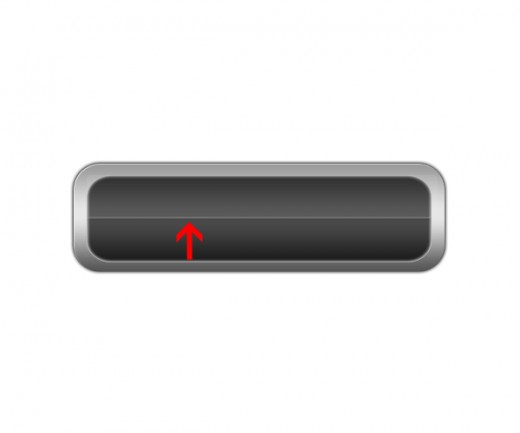
Now select the rectangle tool and draw shape upper side of rectangular with color #ffffff, and down opacity 10%, adjust it as like shown in preview.
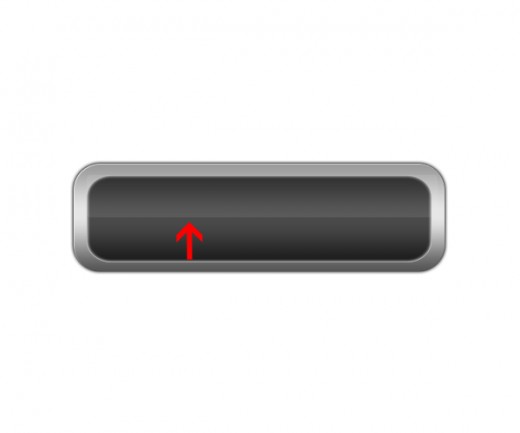
Now draw one more shape with the help of rectangle rectangle tool or line tool at the center of the rectangular with white color #ffffff, down opacity till 20%,
Step 5
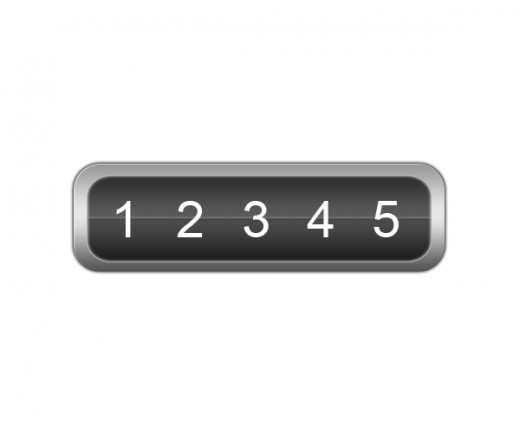
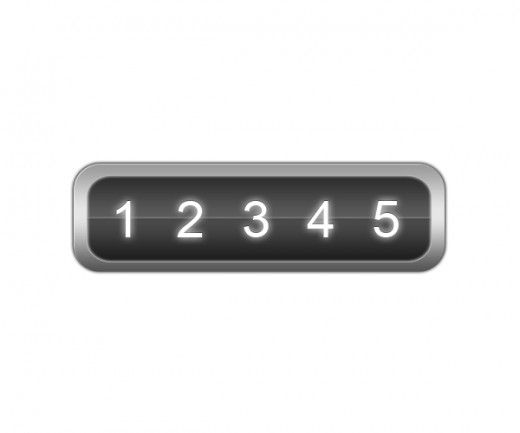
Now Select the Text tool from tool panel and write some words.
Step 6
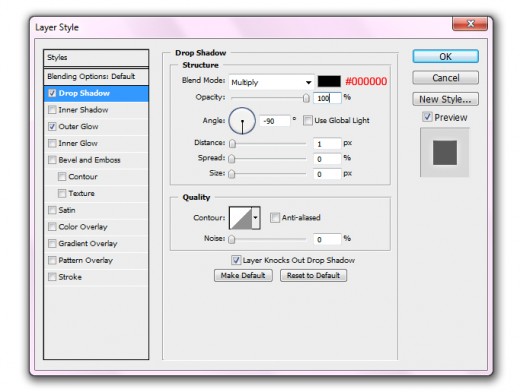
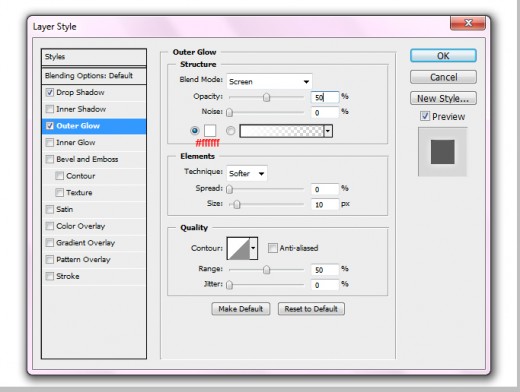
Now go to layer > Layer style or blending options and applying some effects.
Drop Shadow
Outer Glow
After applying layer style we get cool effect in picture below.
Step 7
Now select the rectangle tool or line tool and draw a line after 1 with white color #ffffff, then duplicate this line layer set right side, and change the color with black #000000, merge both layers, and adjust it as like picture below.
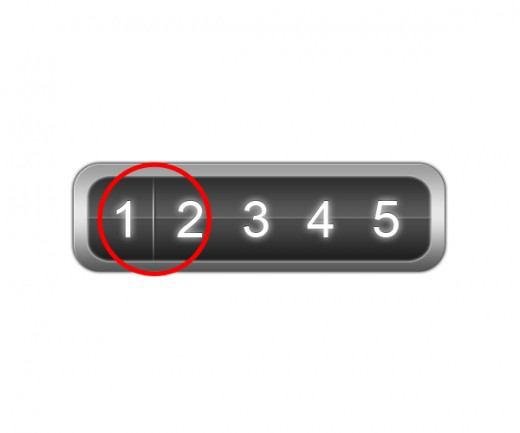
Now duplicate the line three times and set the lines one by one, as like in preview.
