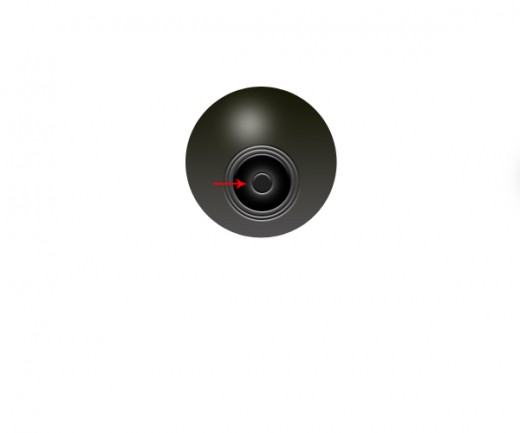
A webcam is essentially just a camera that is connected to a computer, either directly or wireless, and gathers a series of images for remote display elsewhere.
So today, we are going to create a webcam icon in Photoshop. This tutorial is very interesting and easy to learn. In this tutorial, we have used useful and easy techniques to make this cool webcam icon. We are hopeful that you will like our creation. Feel free and share your comments with us.
Other useful photoshop tutorials:
- Create a Diagnostics Icon in Photoshop
- How to Create a Hard Drive: Photoshop Tutorial
- Create a Beautiful LCD Television in Photoshop
- Awesome Apple QuickTime Icon Tutorial in Photoshop
Tutorial details:
- Program: Adobe Photoshop CS5
- Difficulty: Intermediate
- Estimated Completion Time: 50 Mins
Download source file:
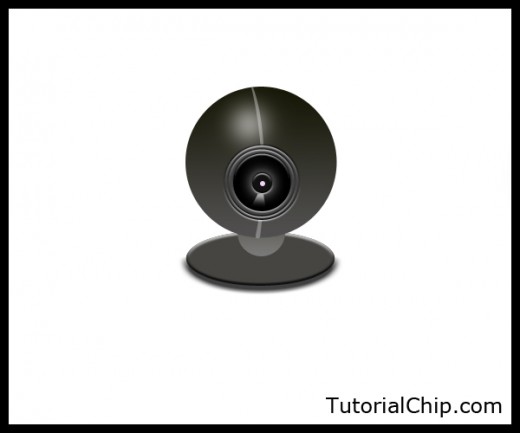
Create a Webcam Icon in Photoshop – Final Preview
Tools and Resources

Tools
- Ellipse Tool
- Polygonal Lasso Tool
- Pen Tool
- Gradient Tool
- Brush Tool
Lets start to create a adorable webcam icon in Photoshop.
Step 1
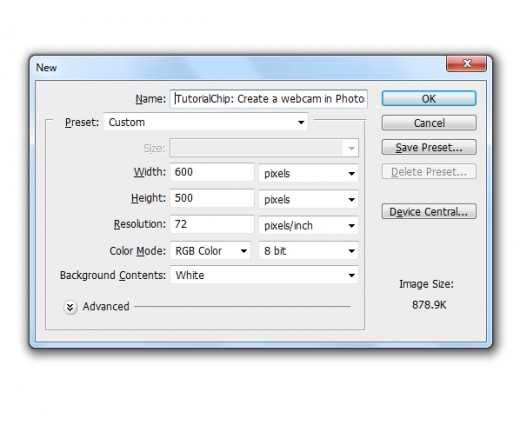
Create a new document (Ctrl+N) 600×500 of size.
Step 2
Select Ellipse Tool from tool panel and create a circle with black color #000000 name it layer Base Circle.

Step 3
Now applying Gradient Overlay on this base circle layer.
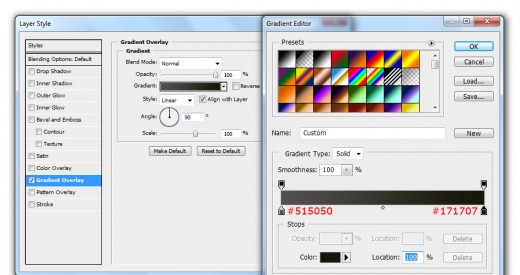
When we applying gradient overlay we get nice effect on base circle layer.

Step 4
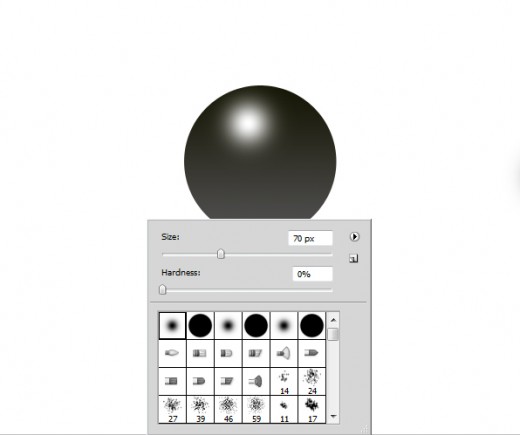
Create a new layer and select the Brush Tool from tool panel select any soft brush with 70px of size and draw a spot as like in preview.
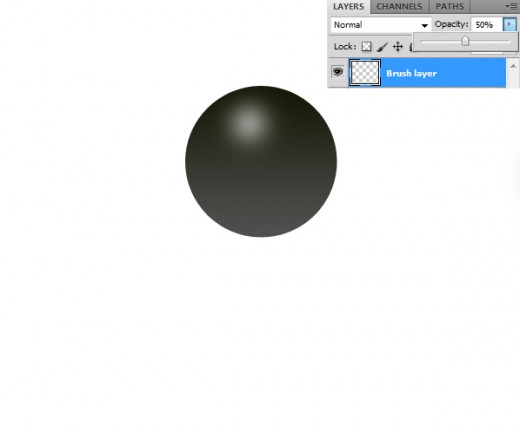
Now down the opacity of this brush layer 50%.
Step 5
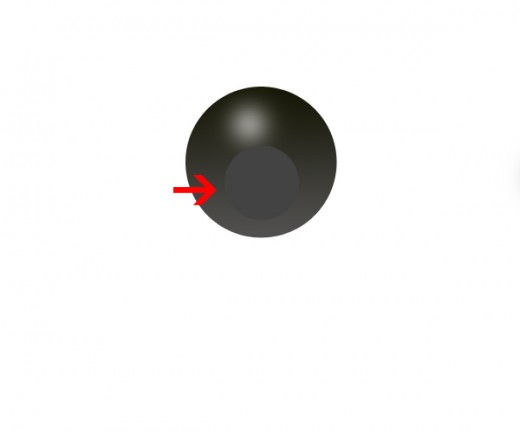
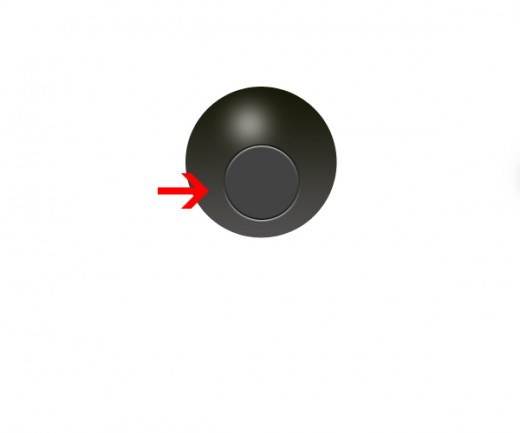
Select Ellipse Tool again and create a circle with color #434343 and name it layer 1st Circle.
Go to Blending Option and applying Bevel and Emboss.
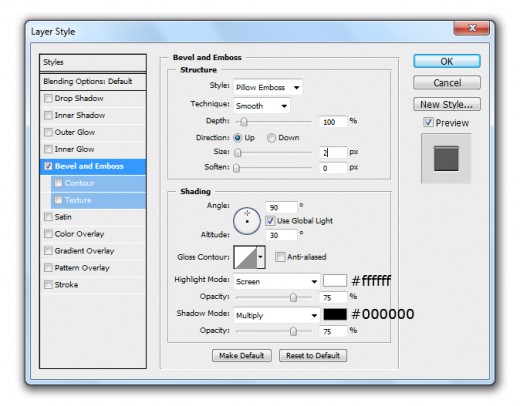
After applying bevel and emboss we get cool effect on circle layer.
Step 6
Duplicate this 1st circle layer and and name it layer 2nd circle, go to Edit > Transform (Ctrl+T) and minimize the size of duplicate 2nd circle layer.
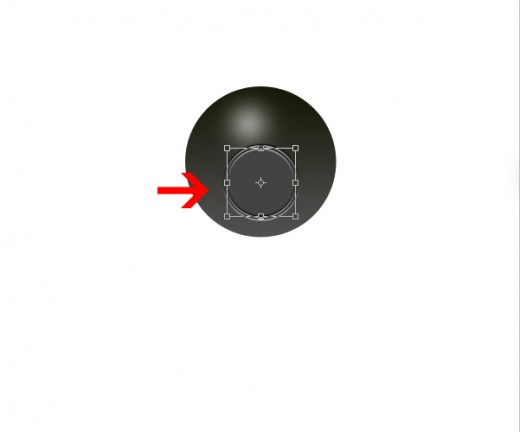
After minimize the size of 2nd circle layer we get cool result.
Step 7
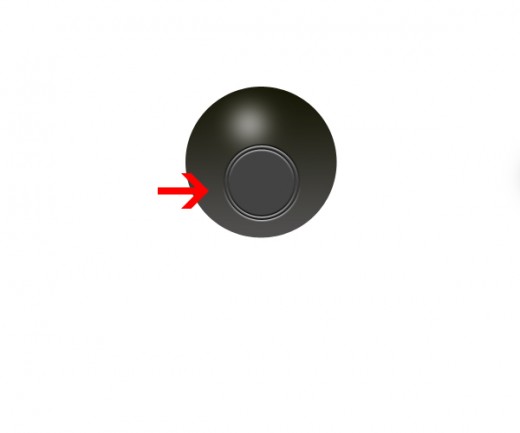
Duplicate the second circle layer and and name it layer 3rd circle, go to Edit > Transform (Ctrl+T) and minimize the size of 3rd circle layer.
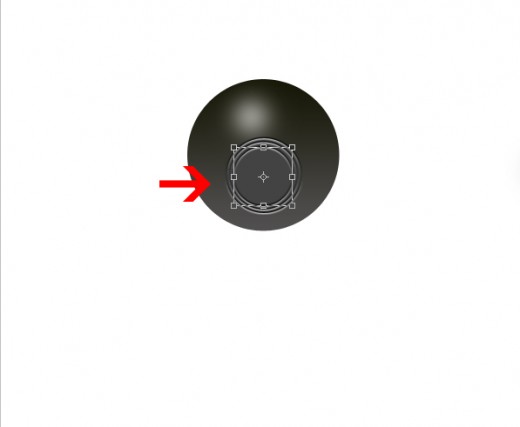
When minimize the size of this duplicate circle layer, applying black color #000000.
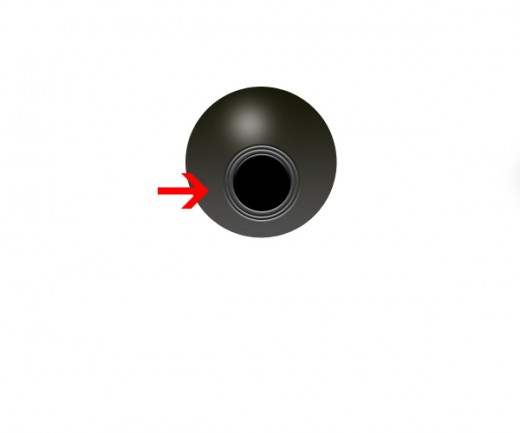
Step 8
Select Ellipse Tool again and create a small circle with color #212121.
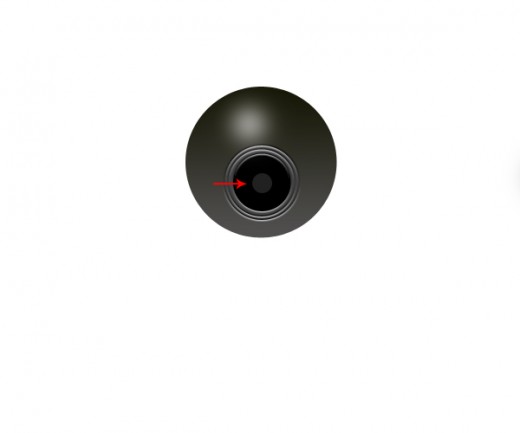
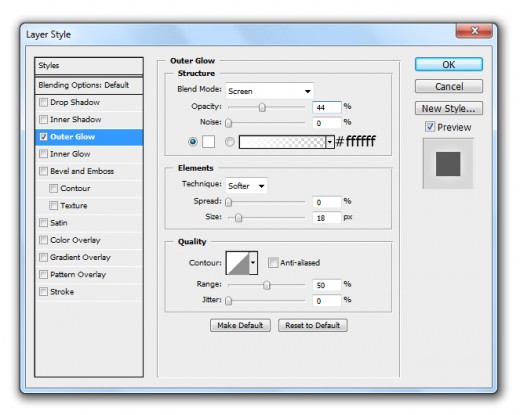
Go to Layer > Layer Style and applying some blending options.
Outer Glow
Bevel and Emboss
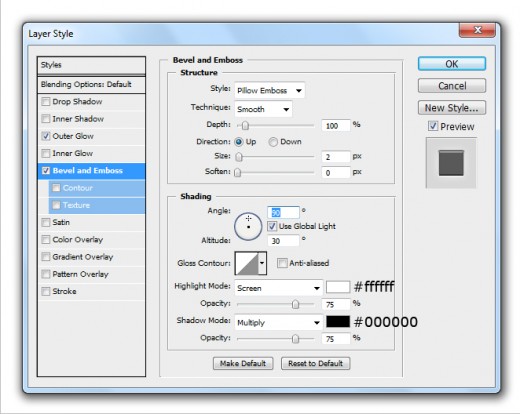
Now after applying these blending options we get nice preview.
